Oracle Backend with Firebase APIs, Part 1: What It Is and Setting It Up on Oracle AI Database 26ai
Part 1 of a two-part series on Oracle Backend with Firebase APIs: Part 1 - What it is and setting it up · Part 2 - Hands-on with auth, database and storage.
What is Firebase, and why should I care as a database developer?
Firebase is Google’s Backend as a Service (BaaS) for mobile and web applications. Instead of building a backend from scratch, an app developer gets client SDKs for common needs such as authentication, a document database, file storage and realtime updates.
Why should an Oracle database developer care? Most database projects may not need this today, but the question appears as soon as a product also needs a native mobile or web client. The app team expects secure APIs, authentication and data synchronization, and somebody has to build and operate them.
I have handled that in previous projects by exposing the required Oracle Database functionality through REST APIs. There is nothing wrong with that approach. It does, however, leave another API layer that I have to design, secure, manage and support. A Firebase-style backend packages much of that recurring work behind an SDK that application developers already understand.
Oracle has now shipped that model for its own database. The official name is Oracle Backend with Firebase APIs; the CLI and packages call it Fusabase.
What Oracle built
It is a feature of Oracle REST Data Services (ORDS). There is no separate cloud service or managed control plane - that is, no separate management layer to operate - and no additional product to provision. You install ORDS 26.1 or later against an Oracle AI Database and run ords fusabase install from the operating-system shell where the ORDS CLI is installed.
The client SDKs for JavaScript, Android, iOS and Flutter (plus plain REST) talk to ORDS; ORDS exposes endpoints under your database schema’s base path; PL/SQL packages inside the database do the work. So collection(db, "users") in your app becomes a REST call, which becomes SQL against JSON collections in a schema you own.
The service surface is genuinely Firebase-like: authentication (Basic, LDAP, IDCS, plus Google/Facebook/GitHub), a Firestore-style document database with security rules, object storage (DBFS or OCI Object Storage), vector collections with similarity search, and an App Trust attestation layer.
Why I care as an APEX developer
Fusabase removes something I keep having to explain to mobile developers. When an APEX project also needs a native or Flutter front end, the usual answer is “we’ll REST-enable some things.” Somebody then has to create the ORDS handlers, authentication and permissions model.
Fusabase gives that team a familiar client SDK while the data stays in the same PDB as the APEX app, under the same constraints, the same triggers, the same backups. No sync layer, no second source of truth.
It also provides features that mobile applications commonly need, including realtime updates over WebSockets. Data changes can reach clients immediately instead of waiting for an arbitrary refresh interval.
Setup guide
This guide shows how I set everything up, including the exact commands I used. Each step says whether its commands belong in SQL*Plus, on the ORDS host or on a local development machine.
Prerequisites
- Database 23.9+ and ORDS 26.1+, per the install and configure guide.
This guide assumes the database and ORDS are already running, either in the cloud or locally.
Step 1: Create a database user
Run this block in SQL*Plus as SYSDBA, we will create the user VITO.
ALTER USER SYS IDENTIFIED BY "<DB_ADMIN_PASSWORD>" CONTAINER=ALL;
ALTER PLUGGABLE DATABASE ORCLPDB1 SAVE STATE;
ALTER SESSION SET CONTAINER=ORCLPDB1;

CREATE USER VITO IDENTIFIED BY "<VITO_PASSWORD>"
  DEFAULT TABLESPACE USERS QUOTA UNLIMITED ON USERS;
GRANT CREATE SESSION, DB_DEVELOPER_ROLE TO VITO;
Step 2: ORDS-enable the schema
Still in SQL*Plus, connect directly to the target PDB as VITO. This call exposes the schema through ORDS; it does not install Fusabase yet.
CONNECT VITO/"<VITO_PASSWORD>"@127.0.0.1:1521/ORCLPDB1

BEGIN
  ORDS.ENABLE_SCHEMA(
    p_enabled             => TRUE,
    p_schema              => 'VITO',
    p_url_mapping_type    => 'BASE_PATH',
    p_url_mapping_pattern => 'vito',
    p_auto_rest_auth      => TRUE
  );
  COMMIT;
END;
/
Step 3: Configure the Fusabase prerequisites
Follow Oracle’s install and configure guide for the authoritative instructions. The commands below summarize what I ran in my environment.
Compatibility
Run this in SQL*Plus as SYSDBA from the CDB root. The setting takes effect after the database restart shown in the block.
ALTER SYSTEM SET COMPATIBLE='23.9.0' SCOPE=SPFILE;
SHUTDOWN IMMEDIATE;
STARTUP;
Raising compatibility is close to one-way. Back up first - I did.
Enable extended string support
Run this in the same SYSDBA SQL*Plus session. The first two statements target the PDB from the CDB root; the remaining statements run after switching into that PDB.
ALTER PLUGGABLE DATABASE <YOUR-PDB> CLOSE;
ALTER PLUGGABLE DATABASE <YOUR-PDB> OPEN UPGRADE;
ALTER SESSION SET CONTAINER=<YOUR-PDB>;
ALTER SYSTEM SET max_string_size = extended;
@?/rdbms/admin/utl32k.sql
ALTER PLUGGABLE DATABASE <YOUR-PDB> CLOSE;
ALTER PLUGGABLE DATABASE <YOUR-PDB> OPEN;
Configure the TDE wallet and master key
Run this in SQL*Plus as SYSDBA from the CDB root. Restart the database after setting wallet_root, then continue with the remaining statements.
ALTER SYSTEM SET wallet_root='/opt/oracle/admin/ORCLCDB/wallet' SCOPE=SPFILE;
-- restart the database, then:
ALTER SYSTEM SET tde_configuration='KEYSTORE_CONFIGURATION=FILE' SCOPE=BOTH;
ADMINISTER KEY MANAGEMENT CREATE KEYSTORE IDENTIFIED BY "<TDE_WALLET_PASSWORD>";
ADMINISTER KEY MANAGEMENT SET KEYSTORE OPEN IDENTIFIED BY "<TDE_WALLET_PASSWORD>" CONTAINER=ALL;
ADMINISTER KEY MANAGEMENT SET KEY IDENTIFIED BY "<TDE_WALLET_PASSWORD>" WITH BACKUP CONTAINER=ALL;
ADMINISTER KEY MANAGEMENT CREATE LOCAL AUTO_LOGIN KEYSTORE FROM KEYSTORE
  IDENTIFIED BY "<TDE_WALLET_PASSWORD>";
Verify all three before retrying: COMPATIBLE at 23.9.0, MAX_STRING_SIZE at EXTENDED, and v$encryption_wallet reporting OPEN / LOCAL_AUTOLOGIN for every container.
Step 4: Install Fusabase through ORDS
We can install fusabase trough the database host shell ‘ords’ on our server.
sudo -iu oracle
/usr/local/bin/ords --config /etc/ords/config fusabase install
exit
The installation creates the system components, but the VITO schema still has to be enabled for Fusabase. I used a shortcut in my environment: I granted DBA to VITO temporarily and revoked it immediately afterwards. This is a broad privilege, so prefer the documented least-privilege approach in a production environment.
From the database host shell, open SQL*Plus as SYSDBA:
sqlplus / as sysdbaThen grant the temporary privileges in the SYSDBA SQL*Plus session:
ALTER SESSION SET CONTAINER = ORCLPDB1;

GRANT DBA TO VITO;
GRANT INHERIT PRIVILEGES ON USER VITO TO BAASSYS;

EXIT;
Back in the database host shell, start a fresh SQL*Plus session without connecting automatically:
sqlplus /nologIn that SQL*Plus session, connect as VITO to the target PDB and enable the schema for Fusabase:
CONNECT VITO/"<VITO_PASSWORD>"@//127.0.0.1:1521/ORCLPDB1

SHOW USER;
SELECT SYS_CONTEXT('USERENV', 'CON_NAME') FROM dual;

BEGIN
  OBAAS_ADMIN.OBAAS_ENABLE_SCHEMA(
    'VITO',
    'BASE_PATH',
    'vito',
    FALSE
  );
END;
/
COMMIT;
EXIT;
Back in the database host shell, reconnect as SYSDBA:
sqlplus / as sysdbaRevoke the temporary privilege in SQL*Plus:
ALTER SESSION SET CONTAINER = ORCLPDB1;
REVOKE DBA FROM VITO;
EXIT;
Finally, restart ORDS from the ORDS host shell so it loads the installed feature and schema configuration:
sudo systemctl restart ords
sudo systemctl status ords --no-pager
Validation
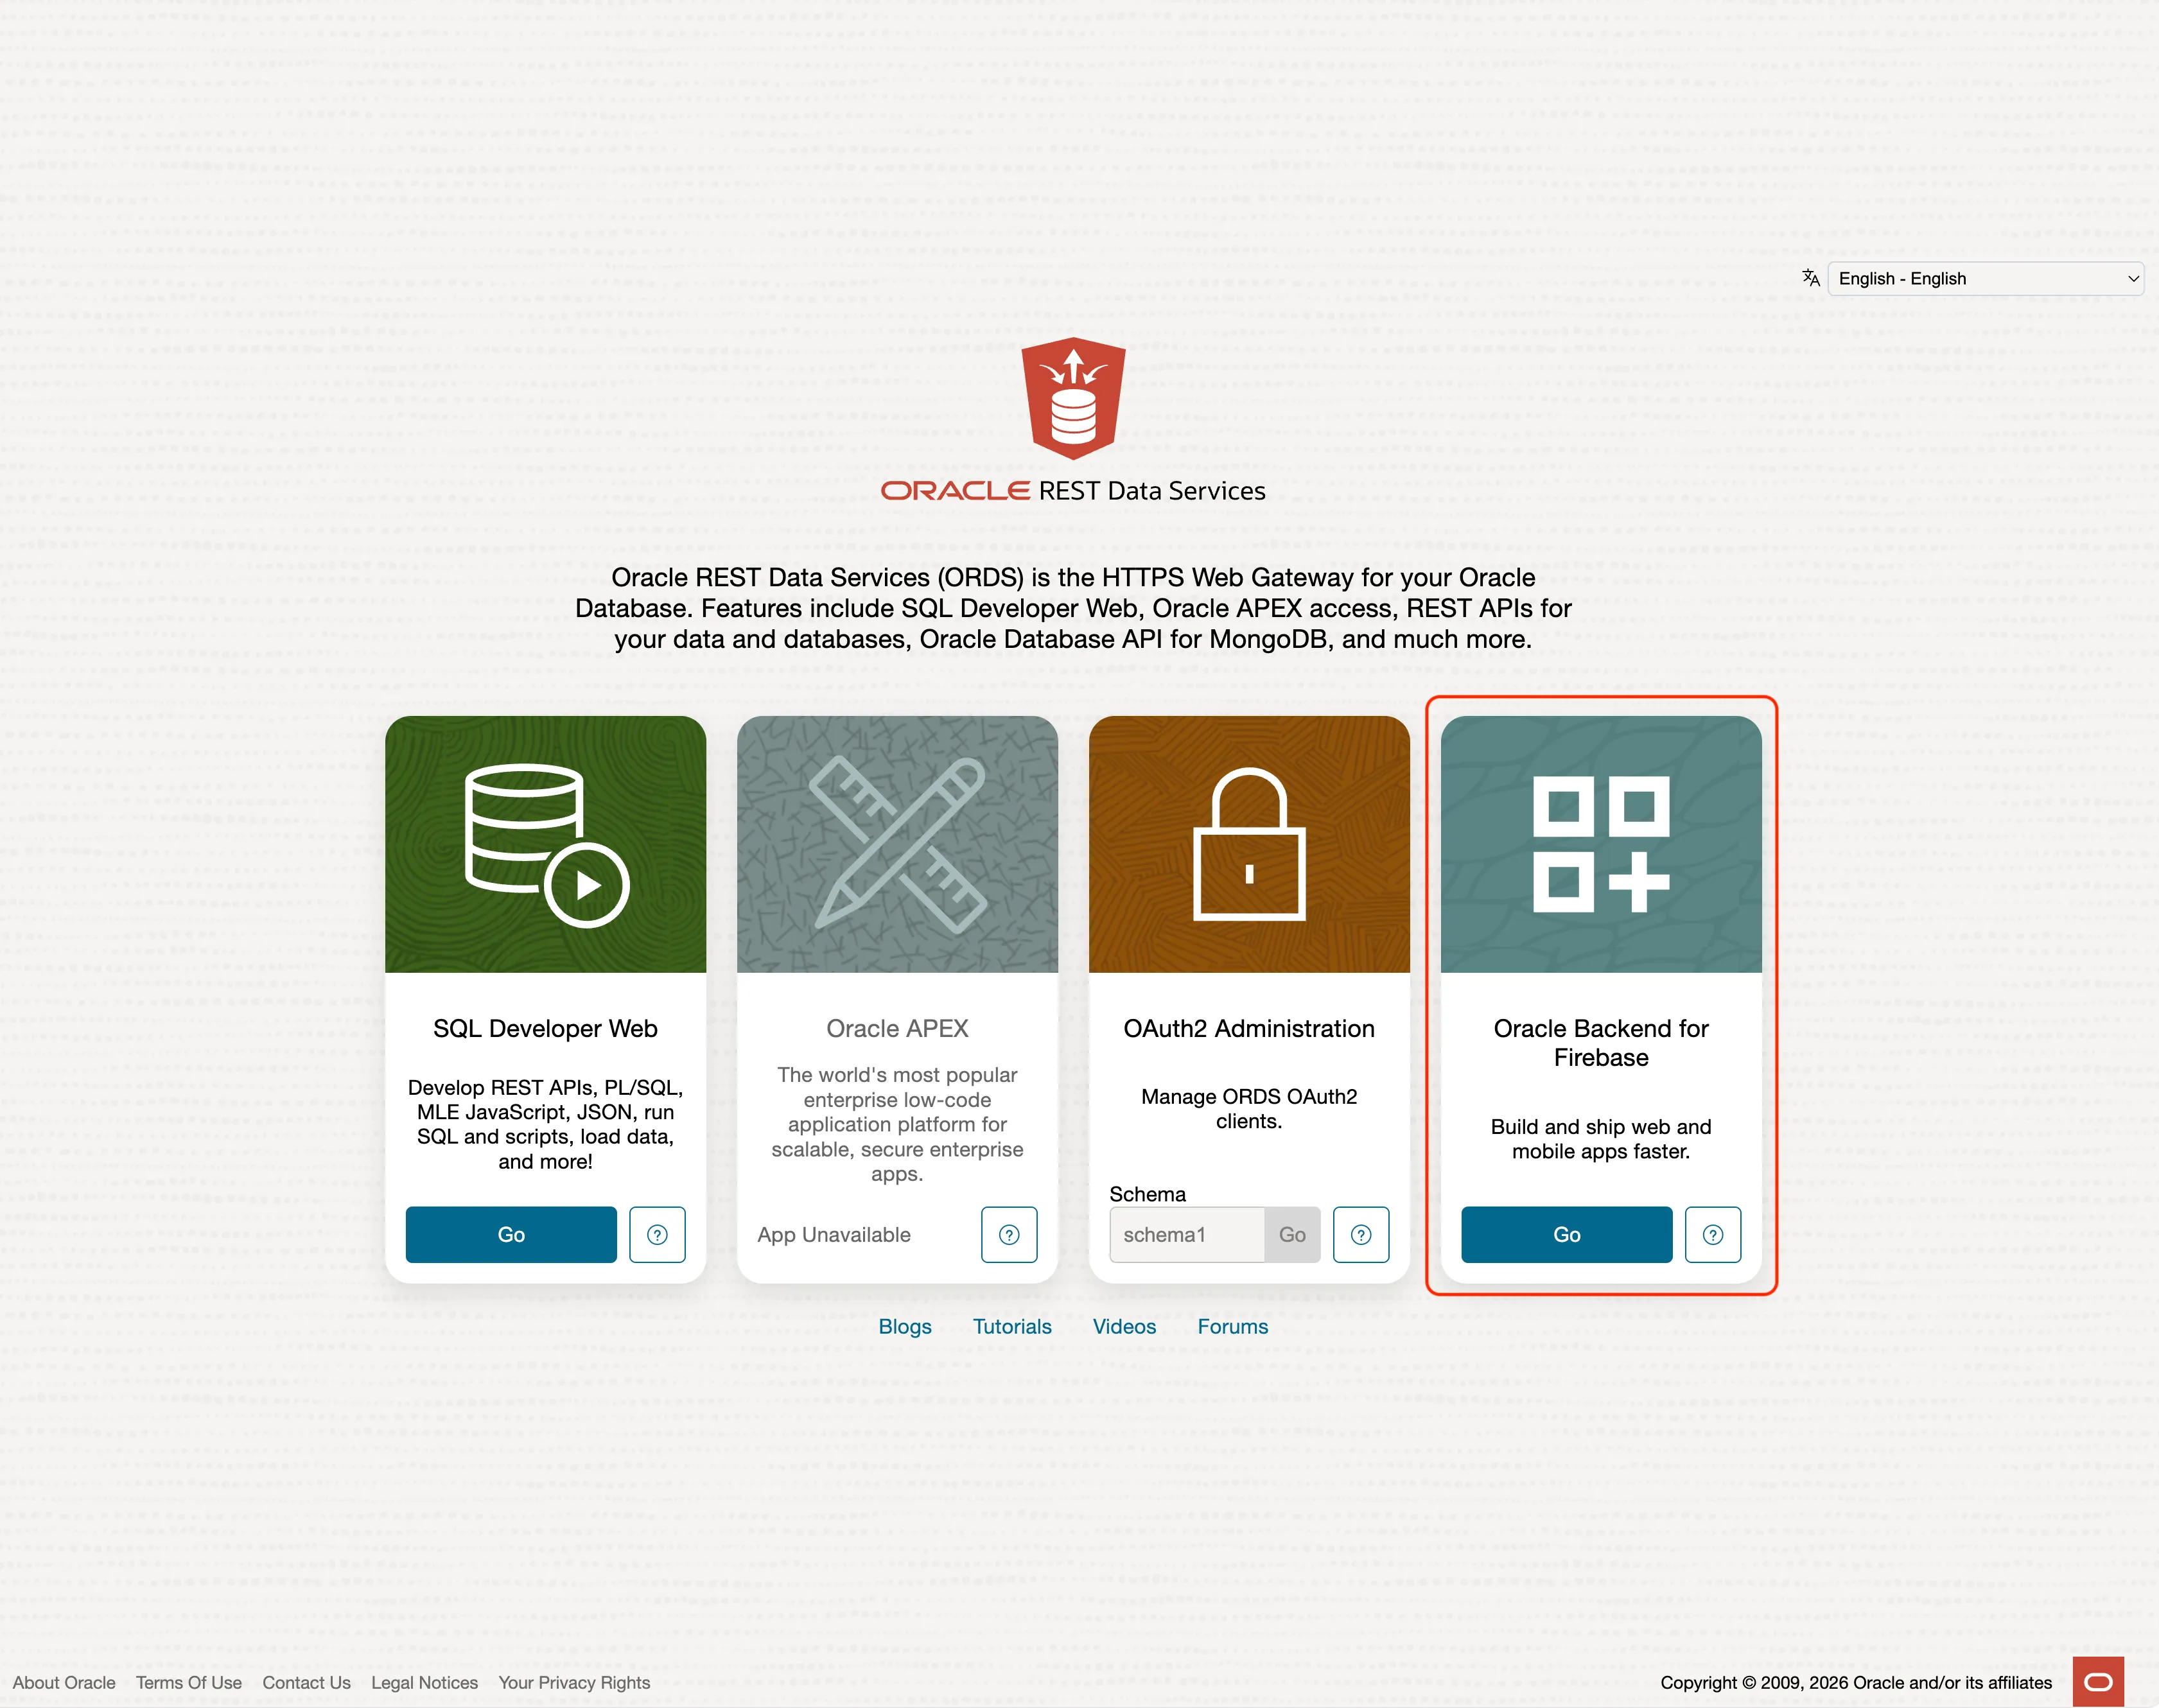
If everything succeeded, open the ORDS endpoint in a web browser. The landing page should now include the new service:
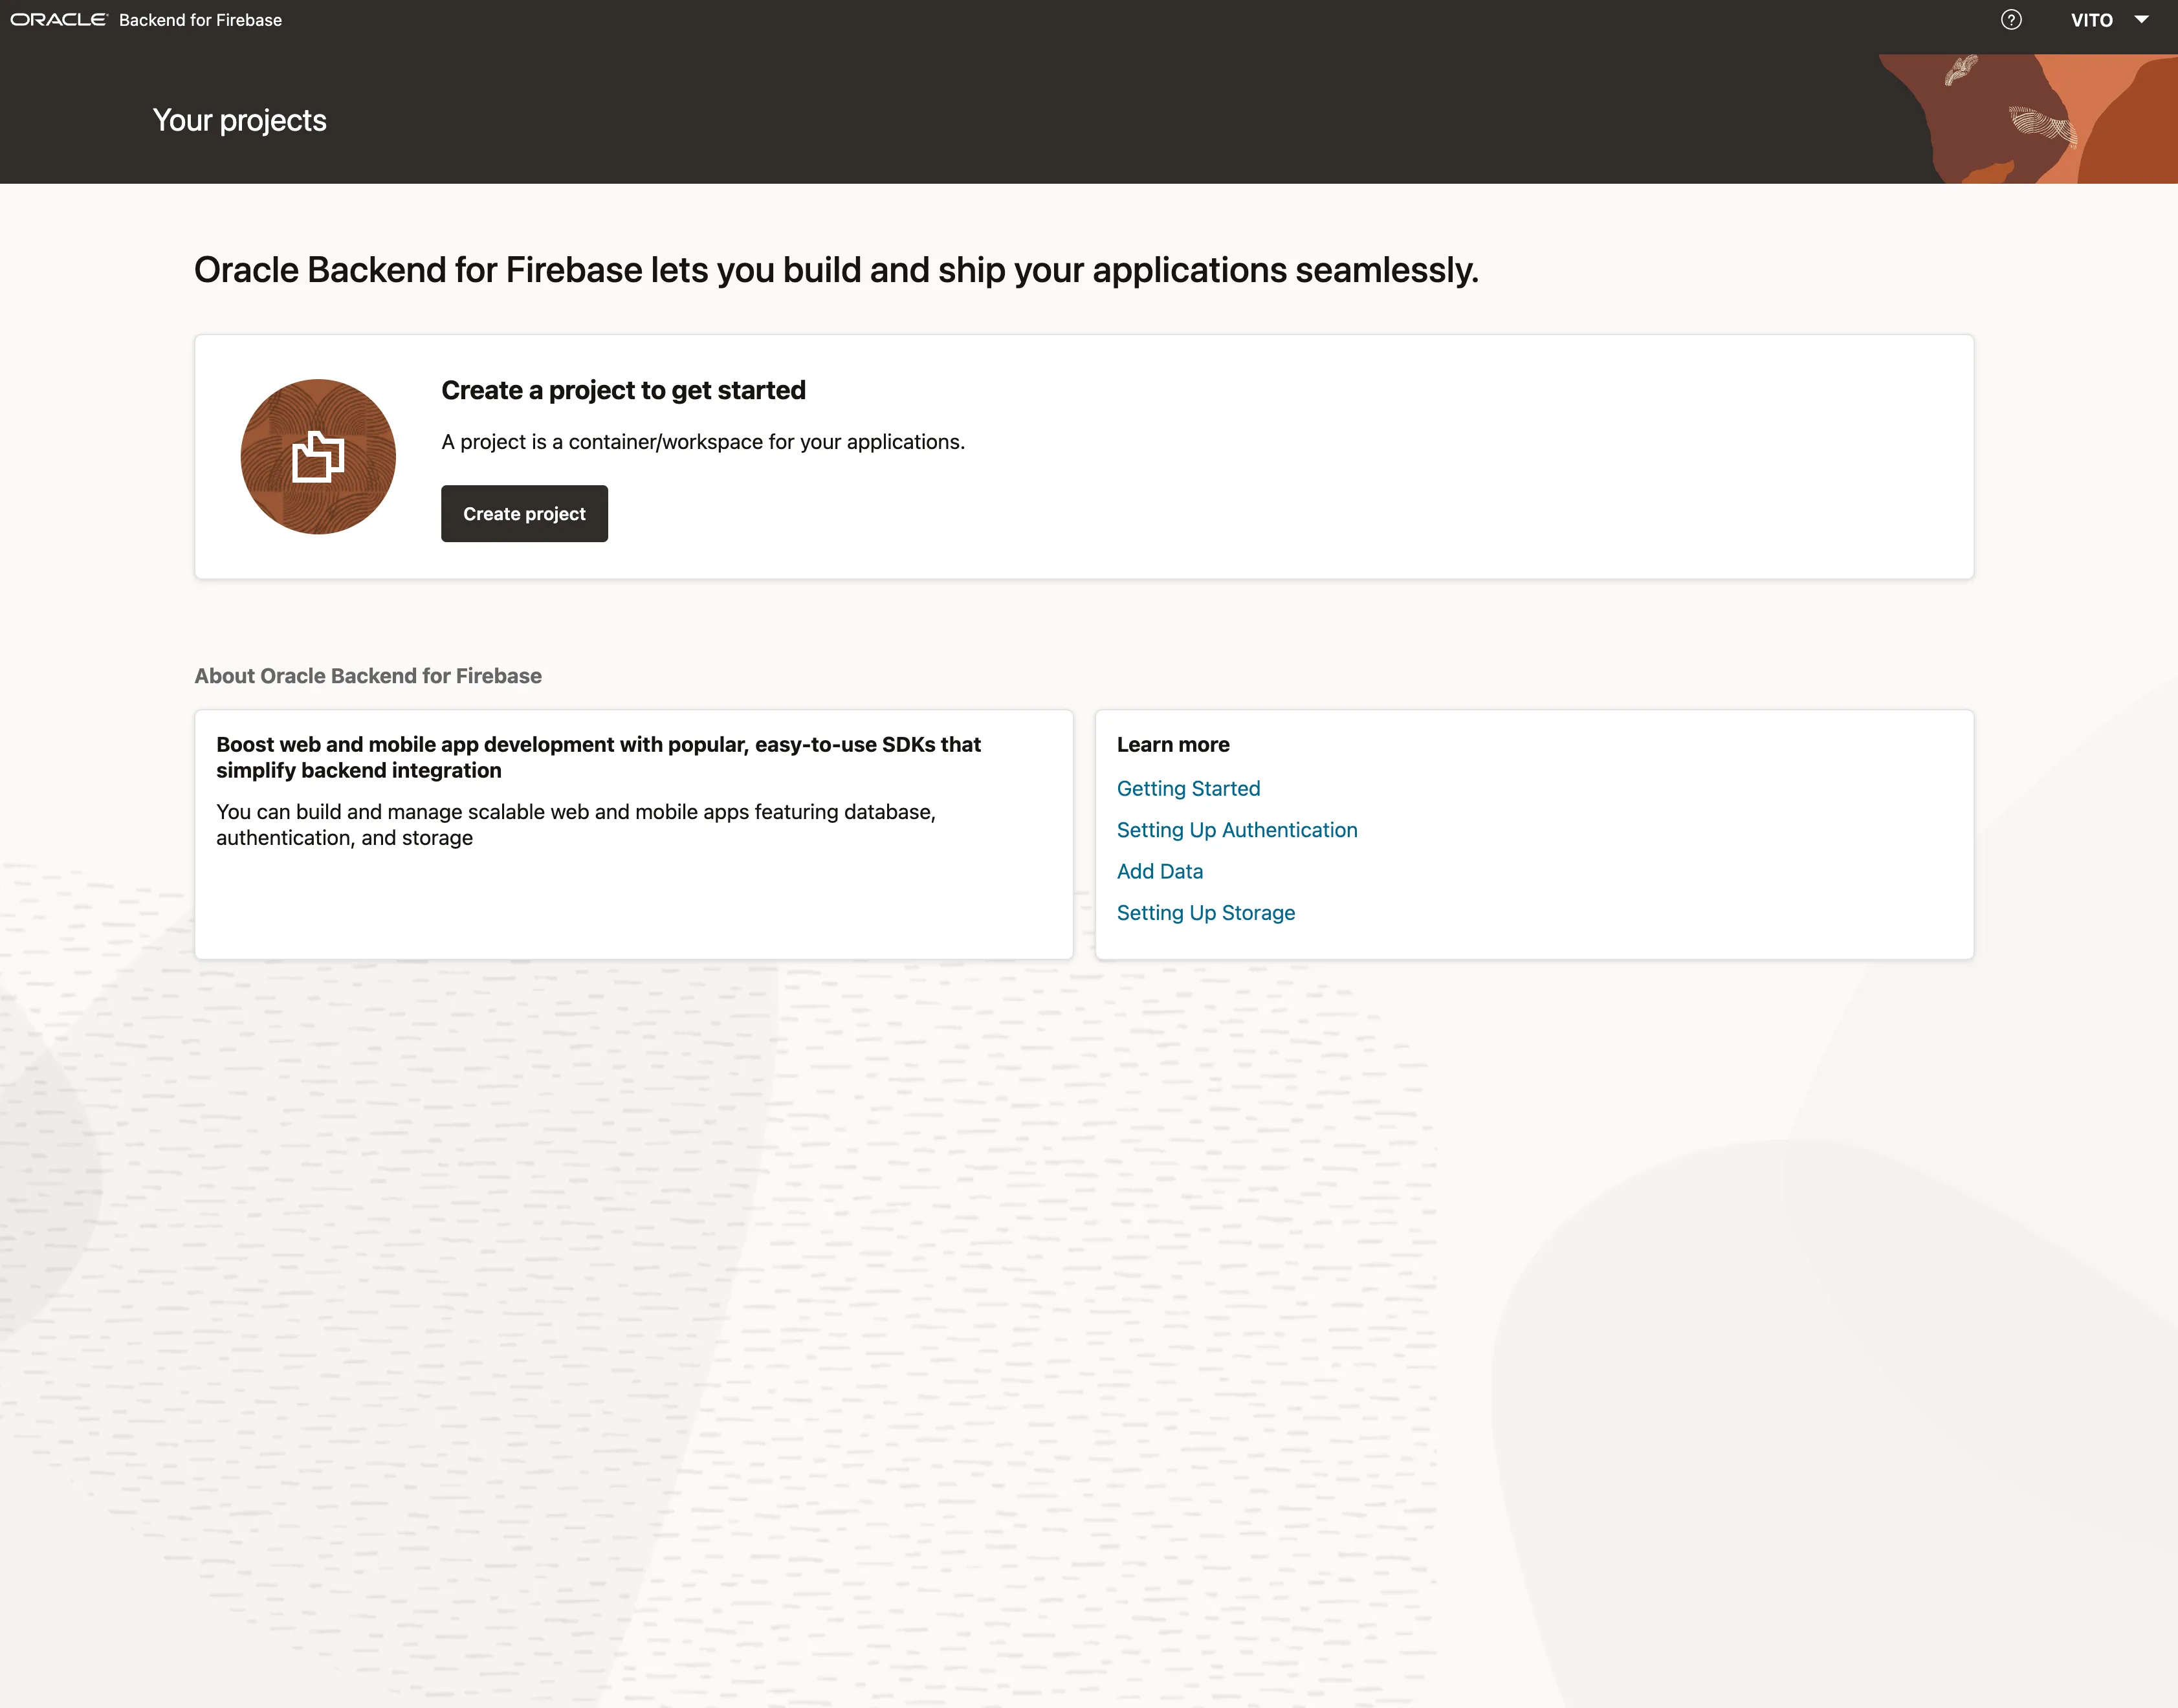
After signing in, you should see the Fusabase dashboard:
Setting up a project
Part 2 covers the features in detail. For now, we will create one quickstart project so that we can verify the installation from a client application.
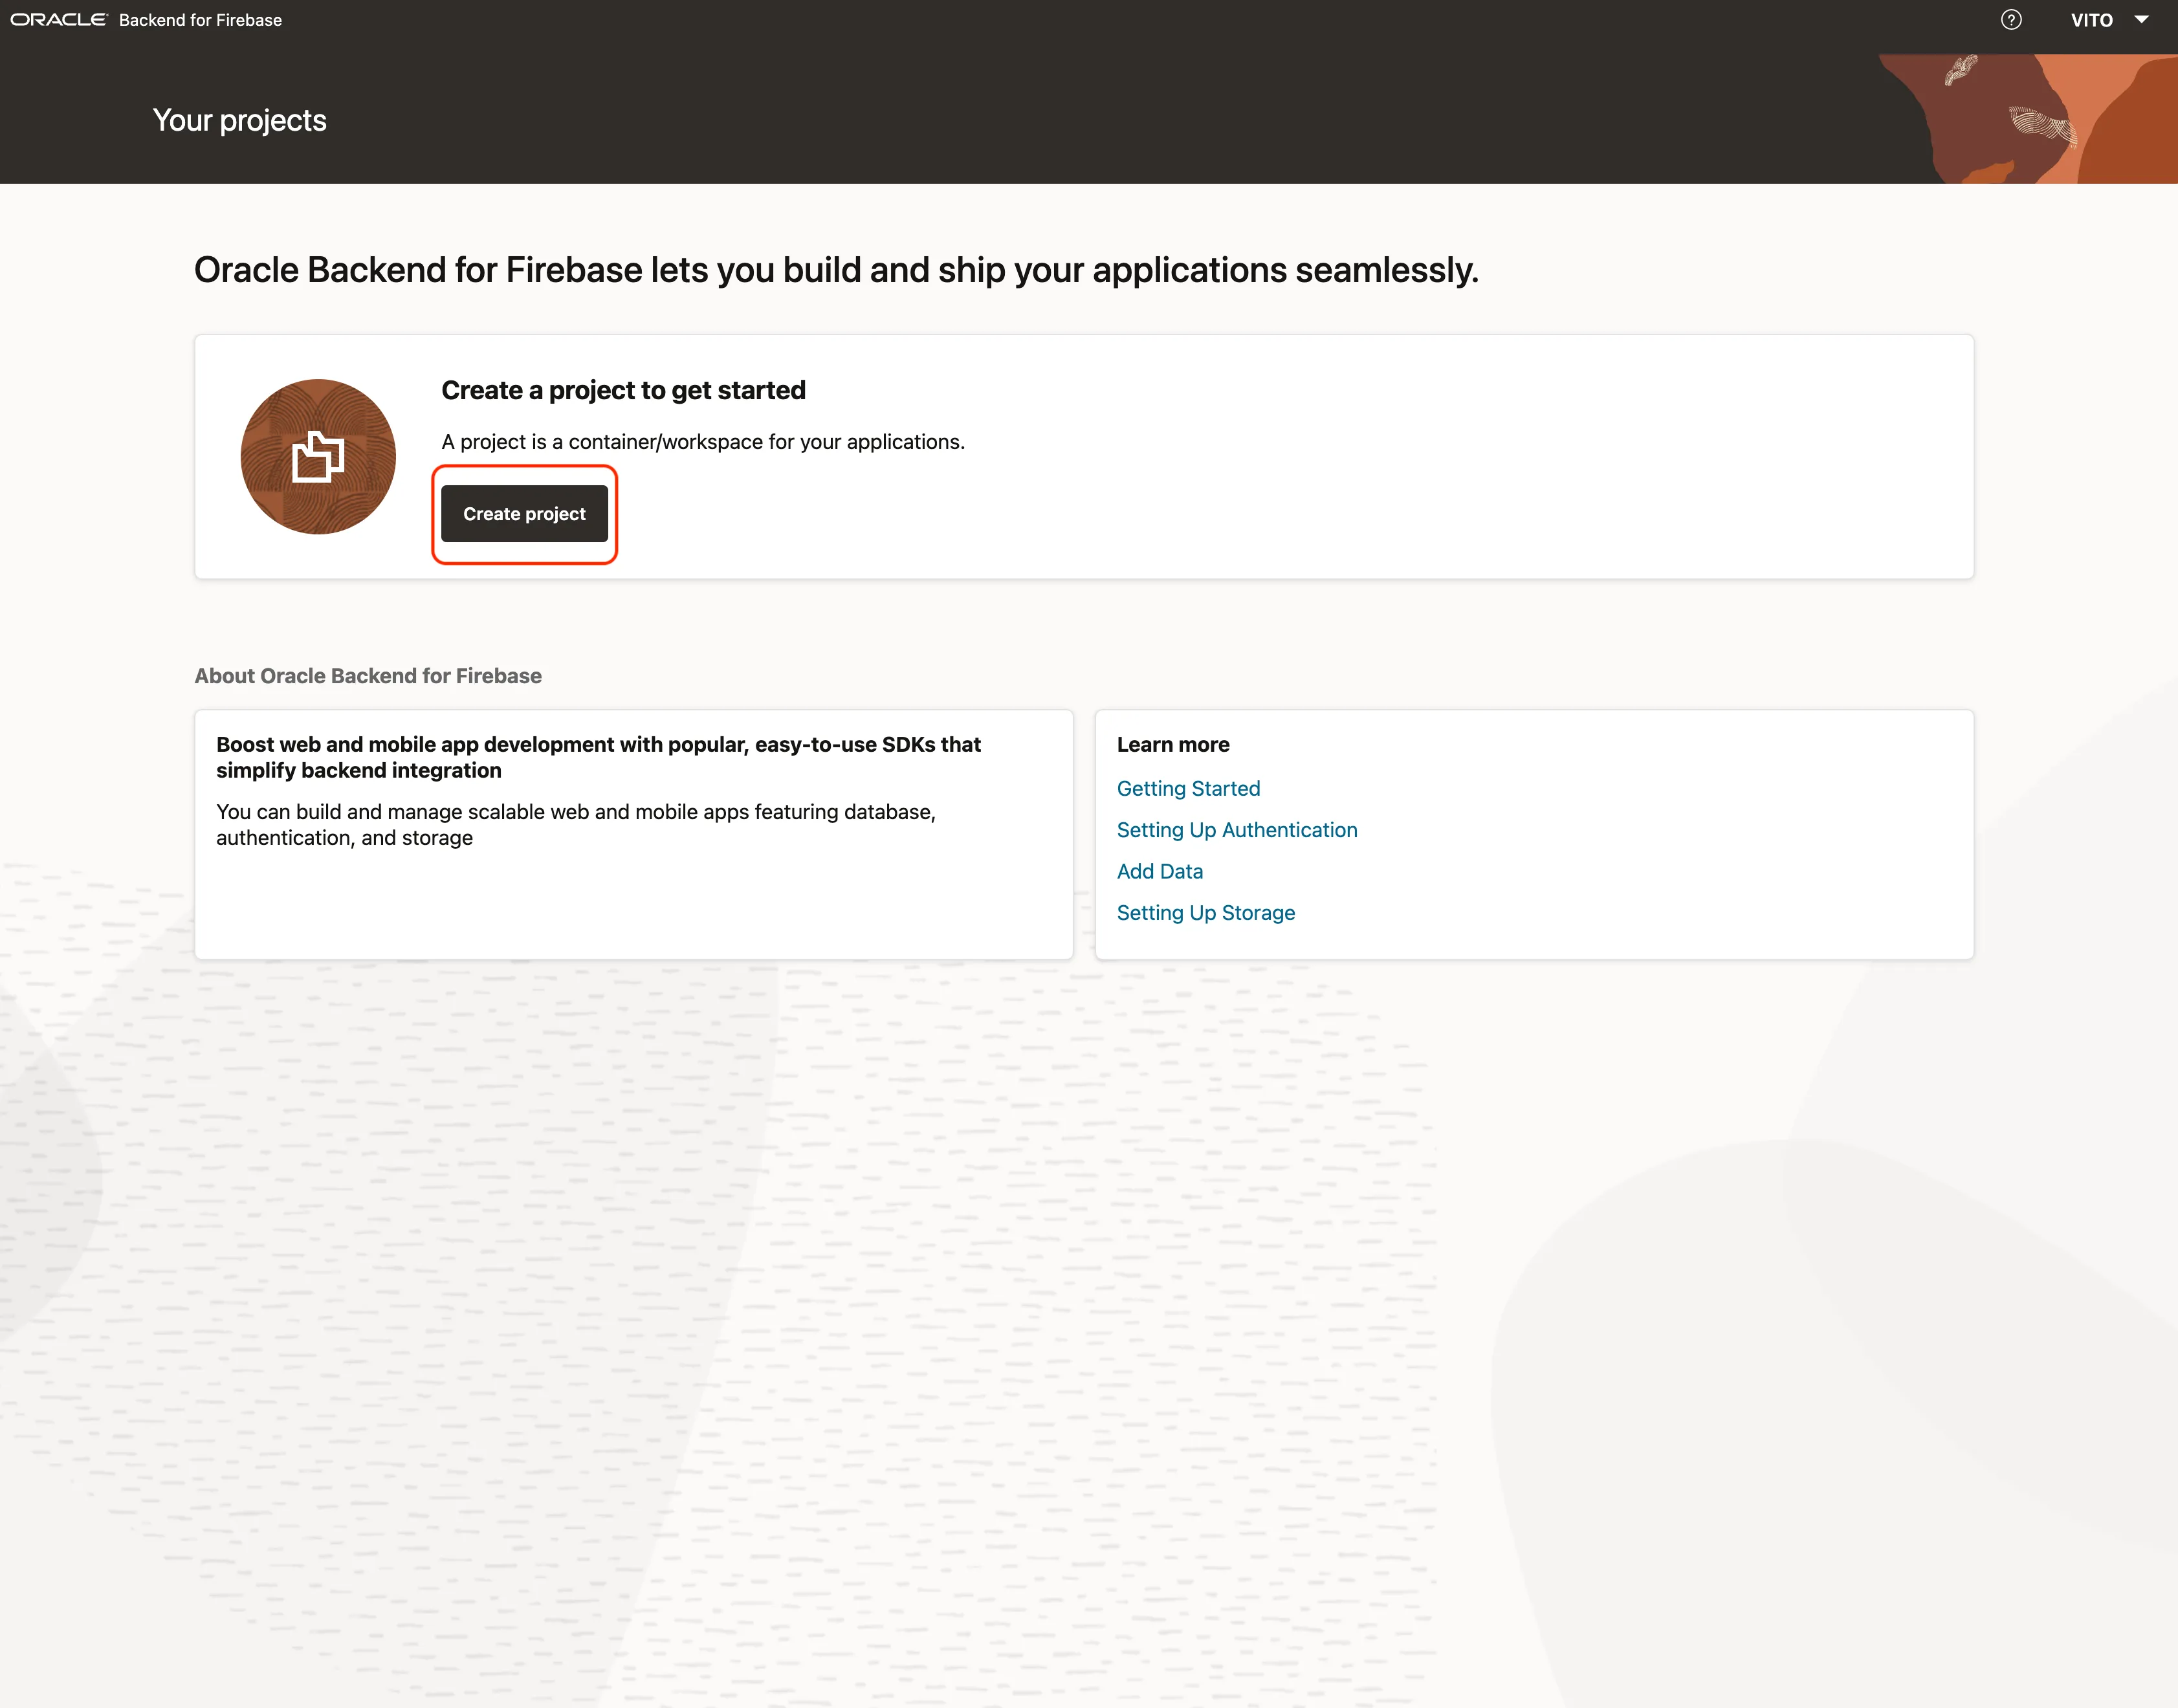
In the Fusabase Console in your browser, create a project and select the quickstart option:
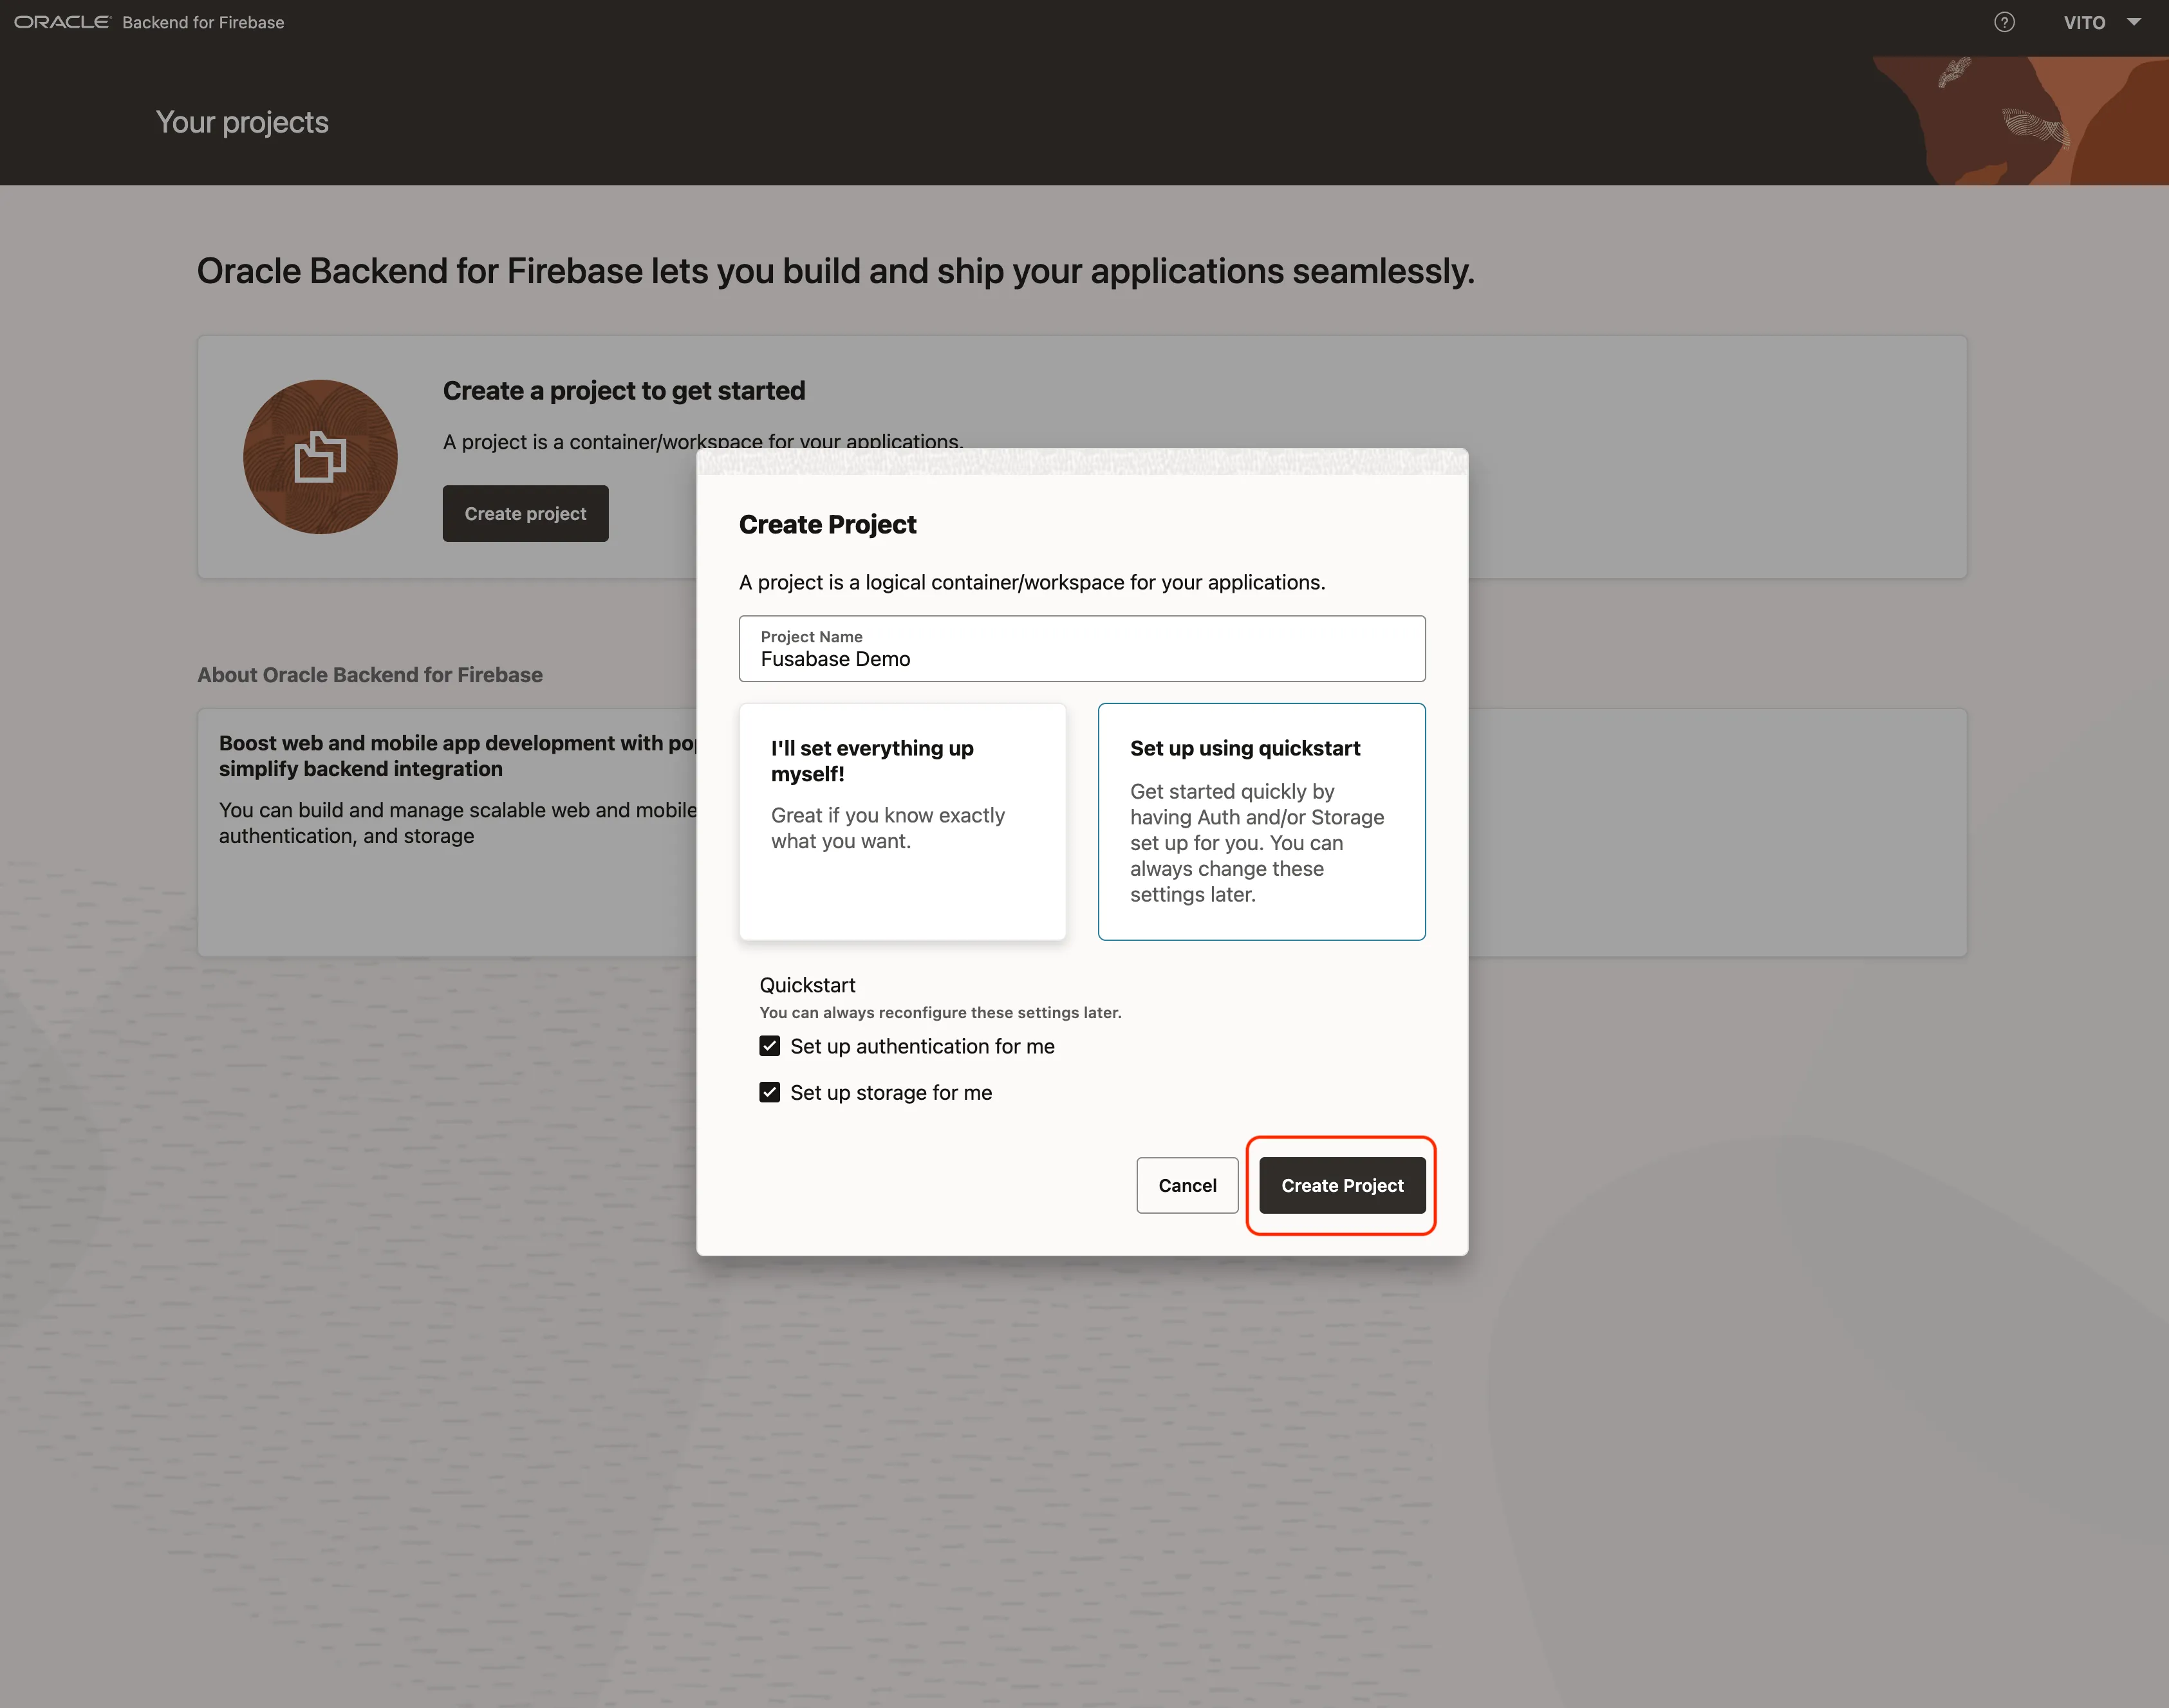
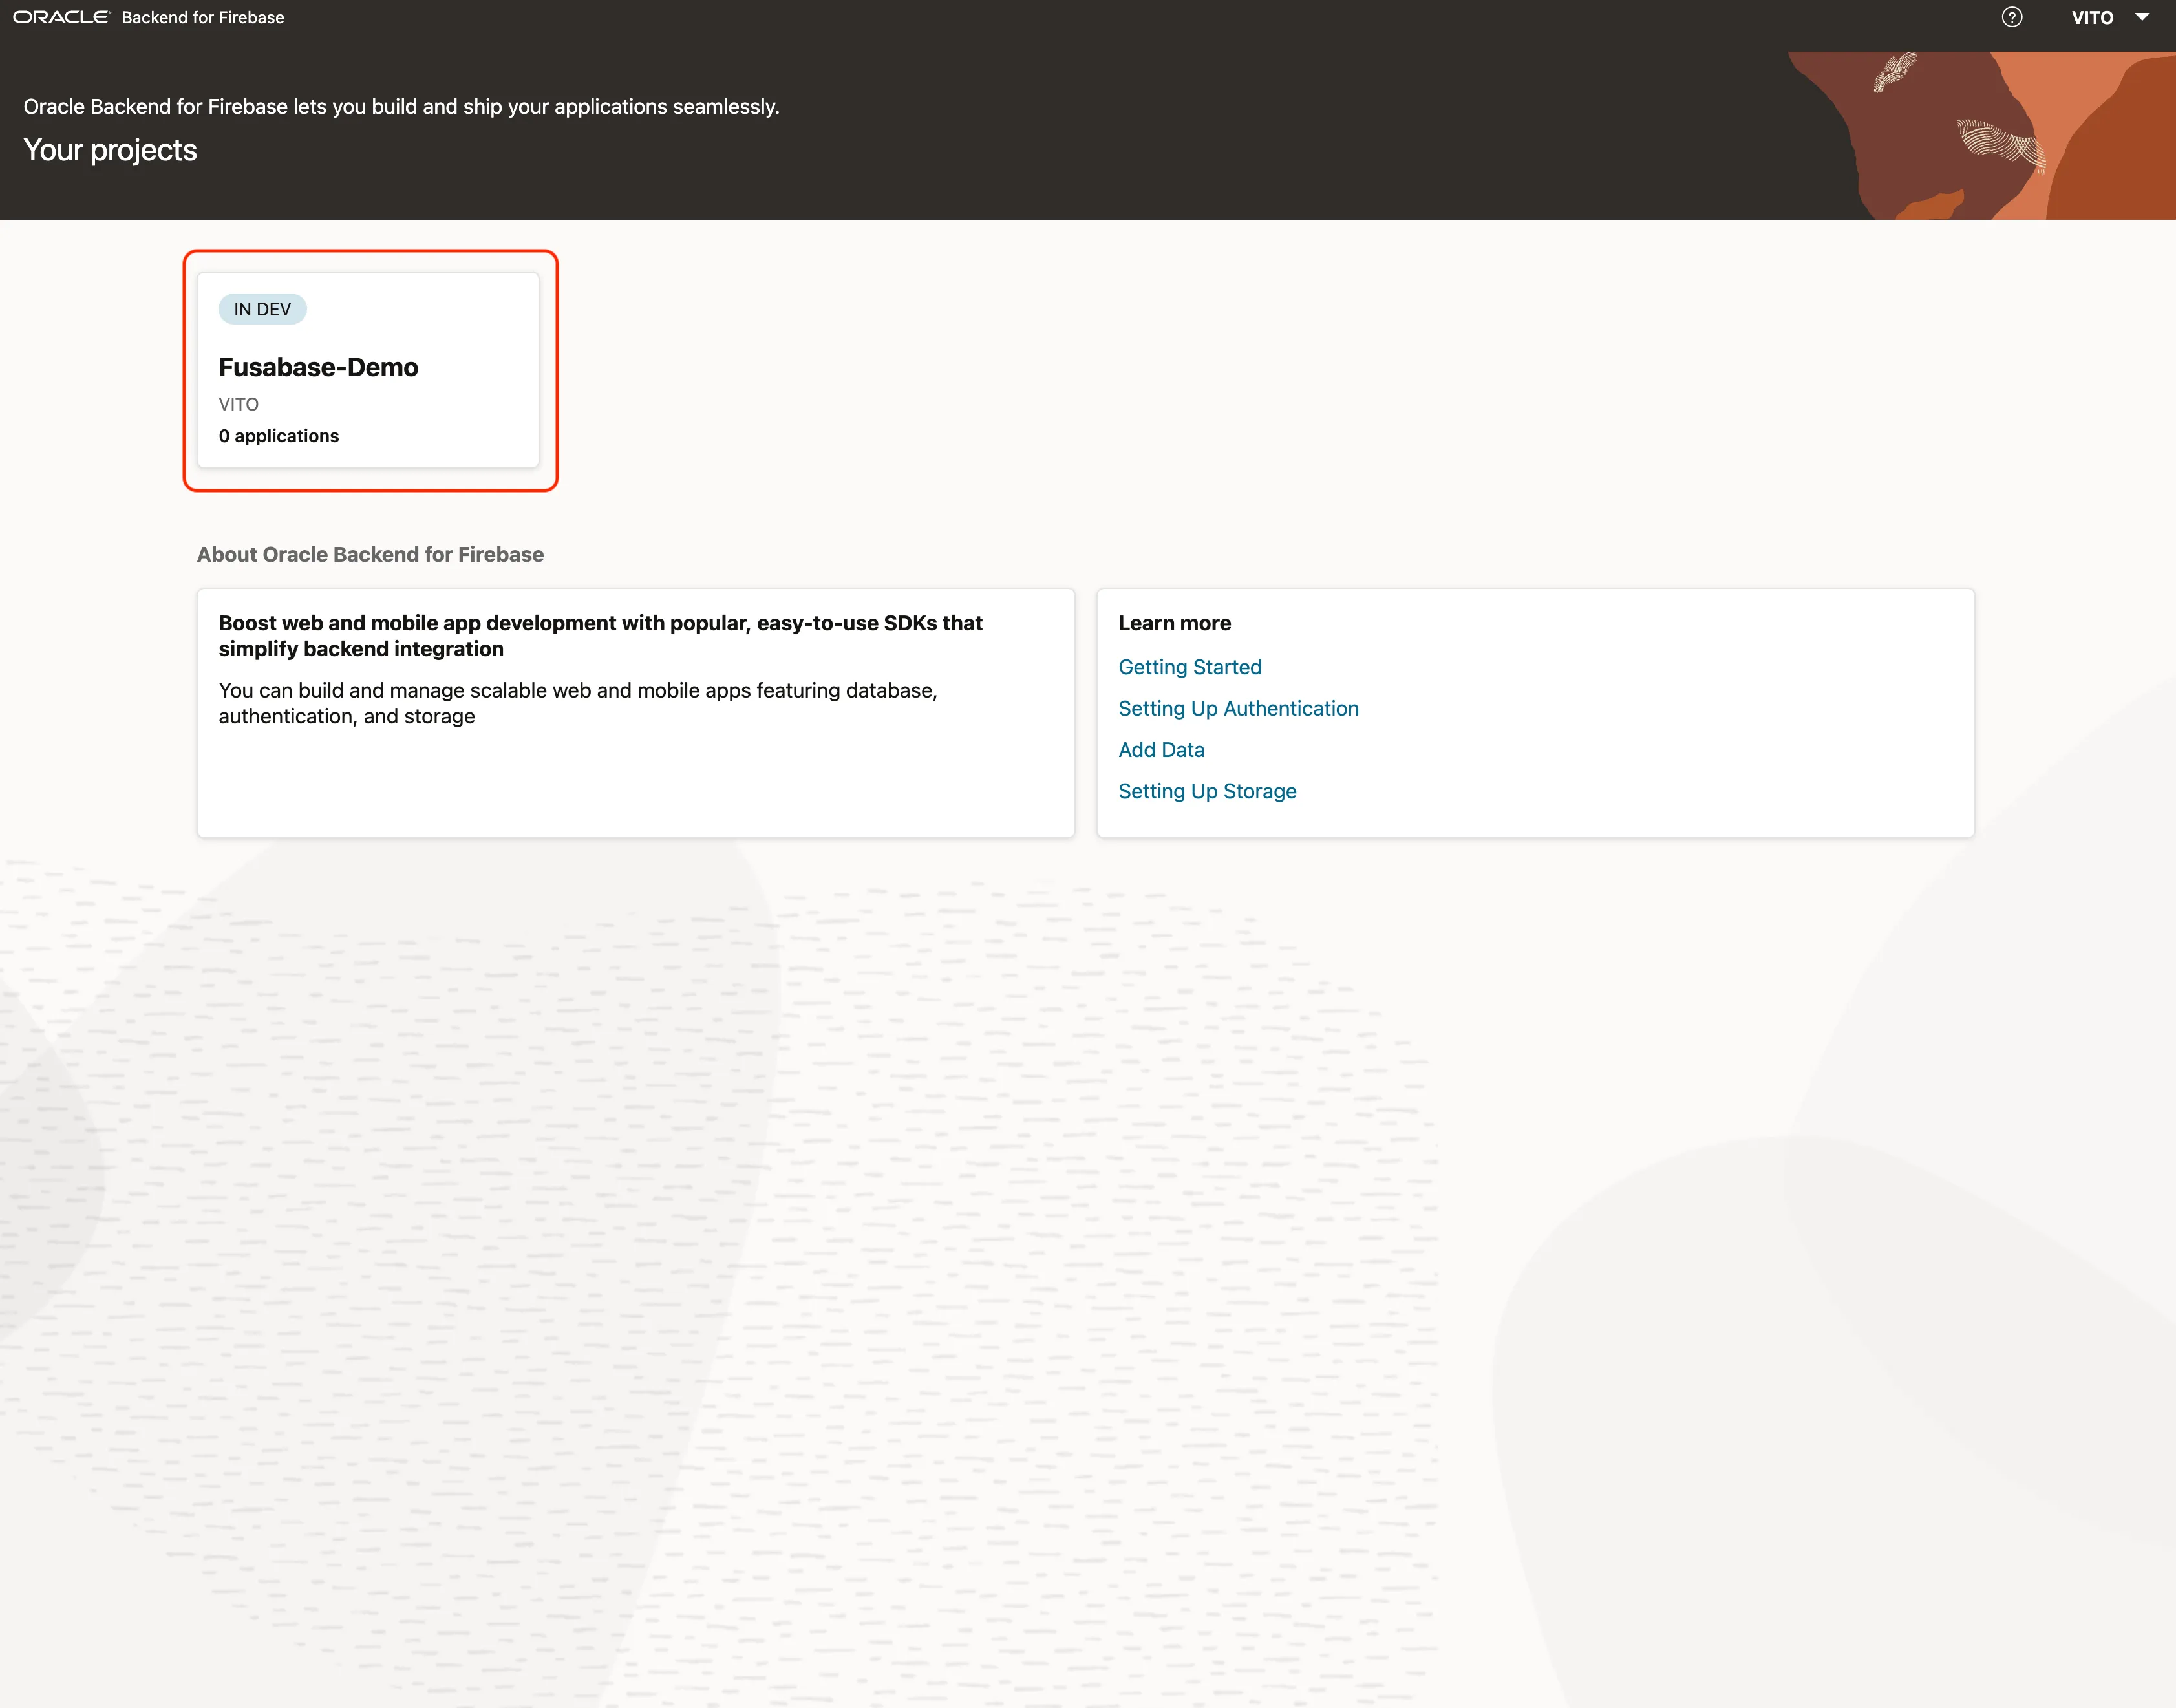
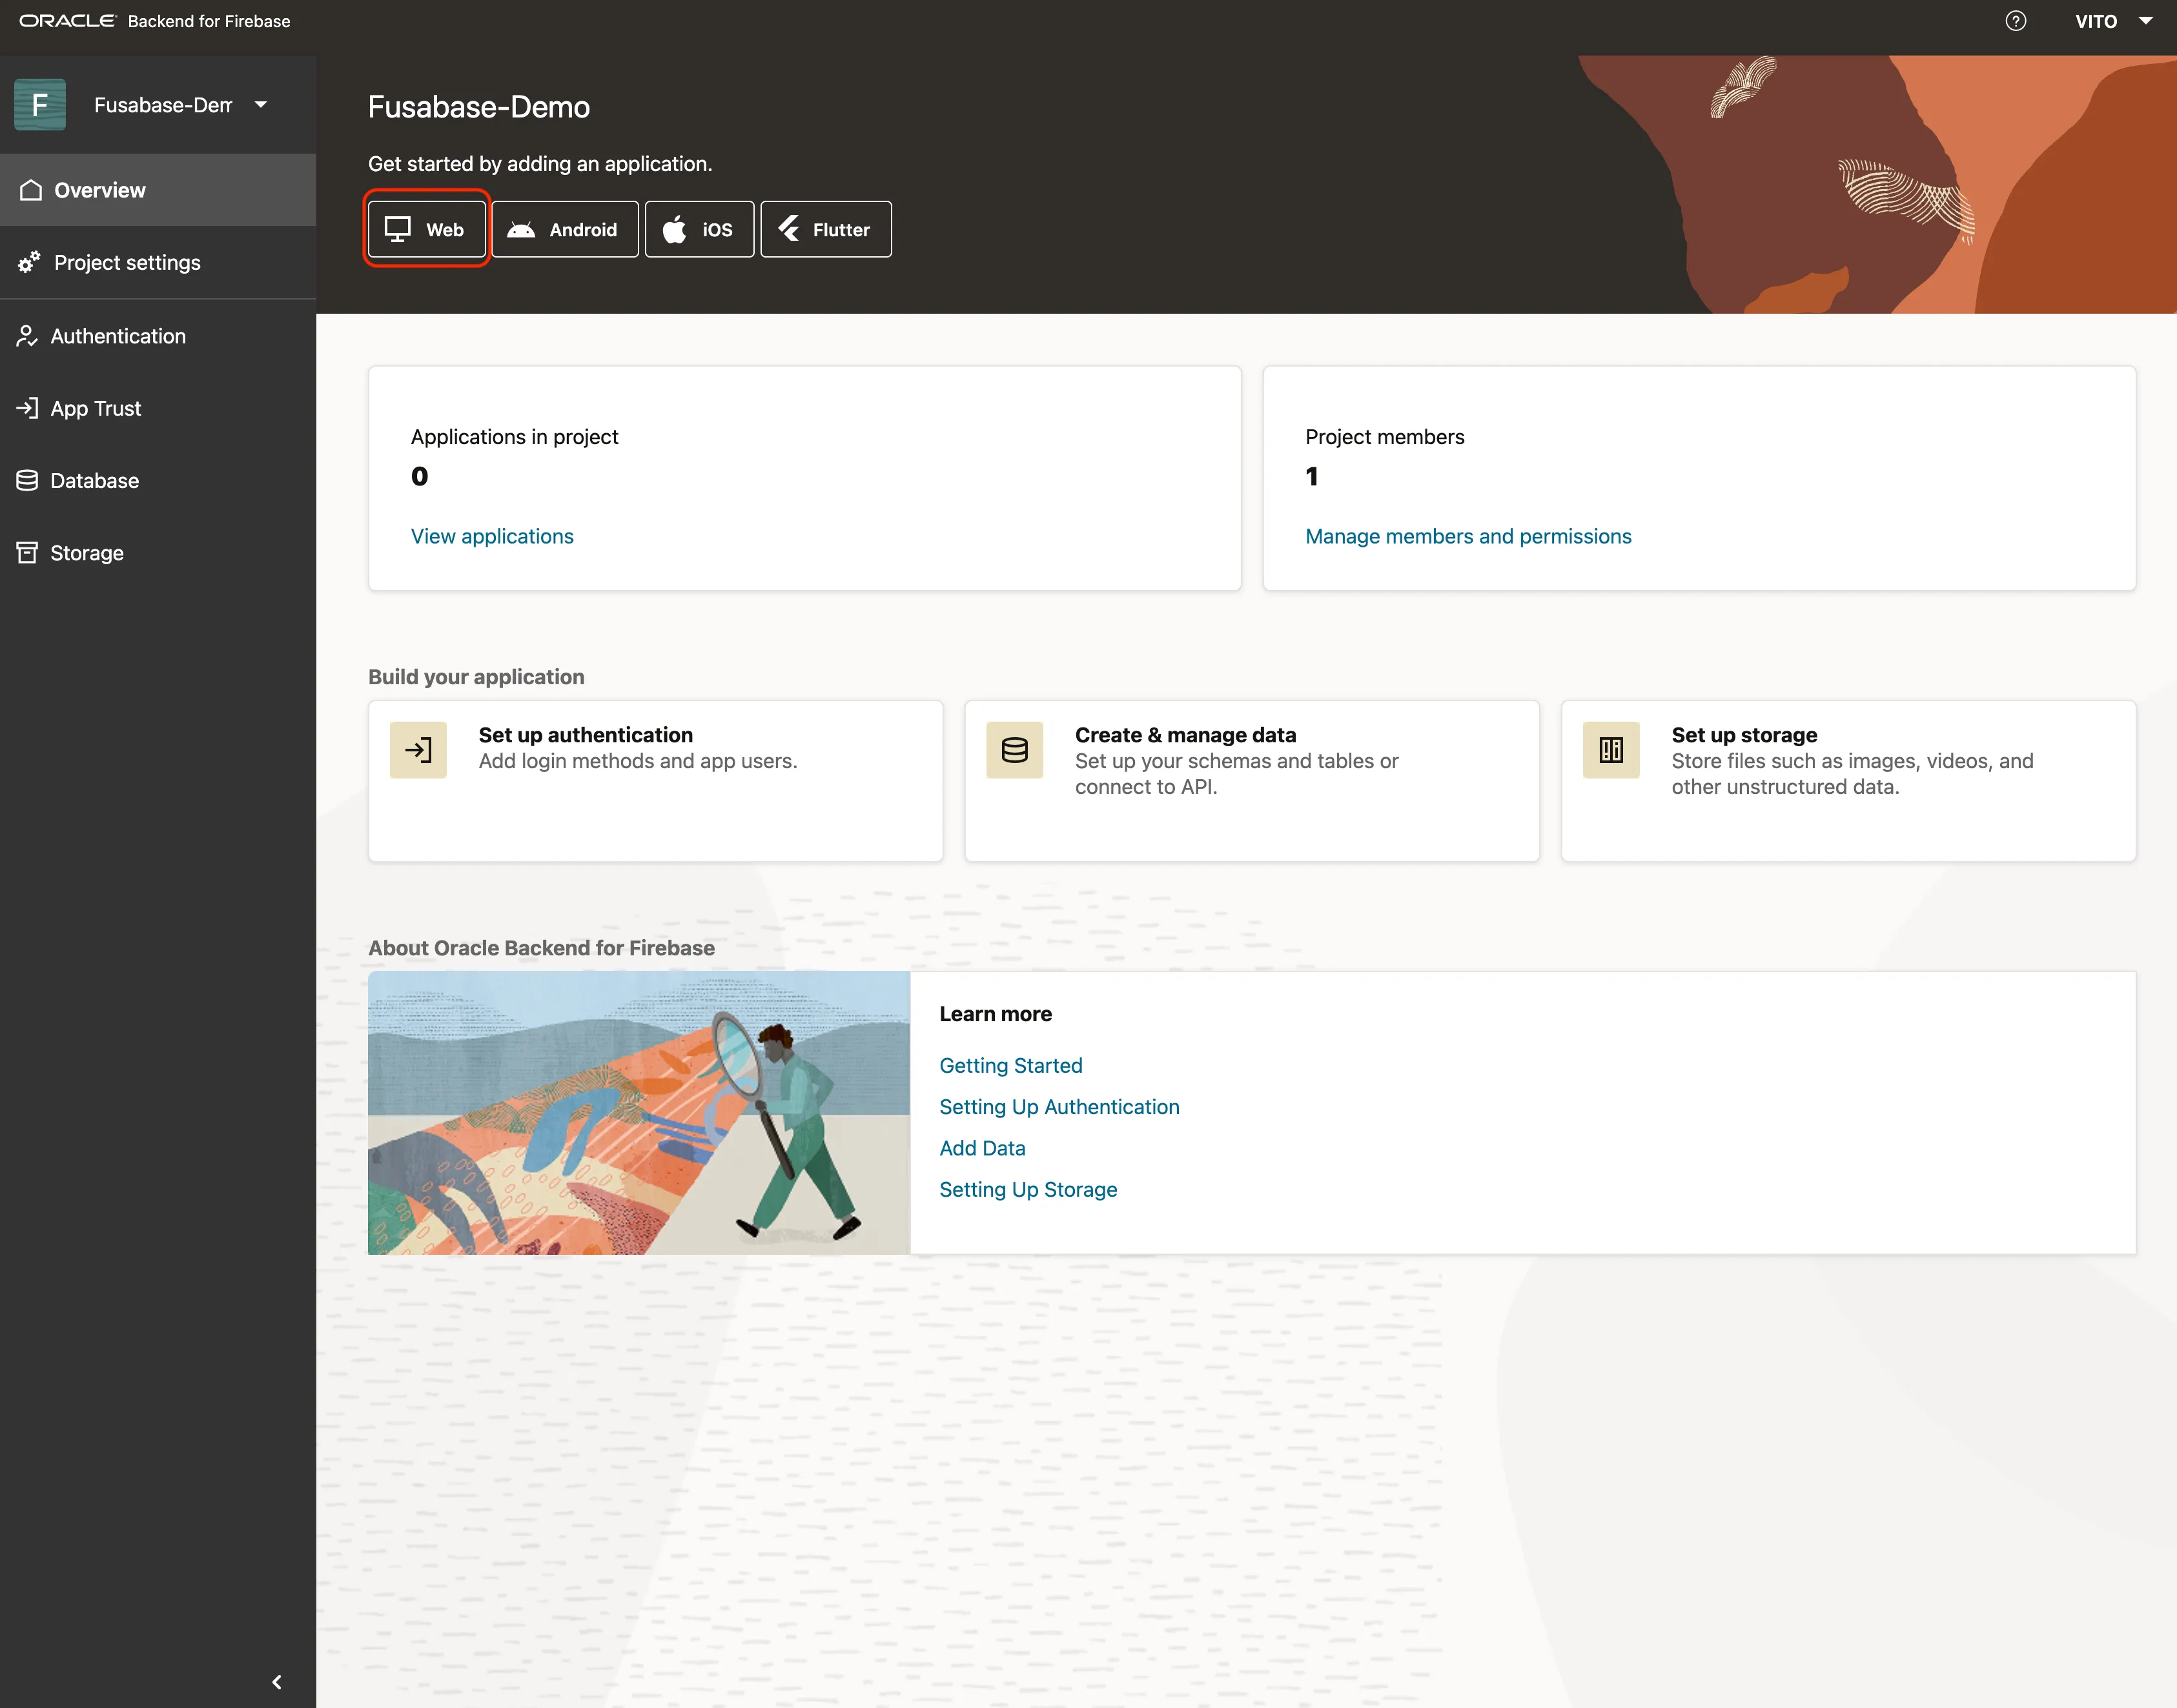
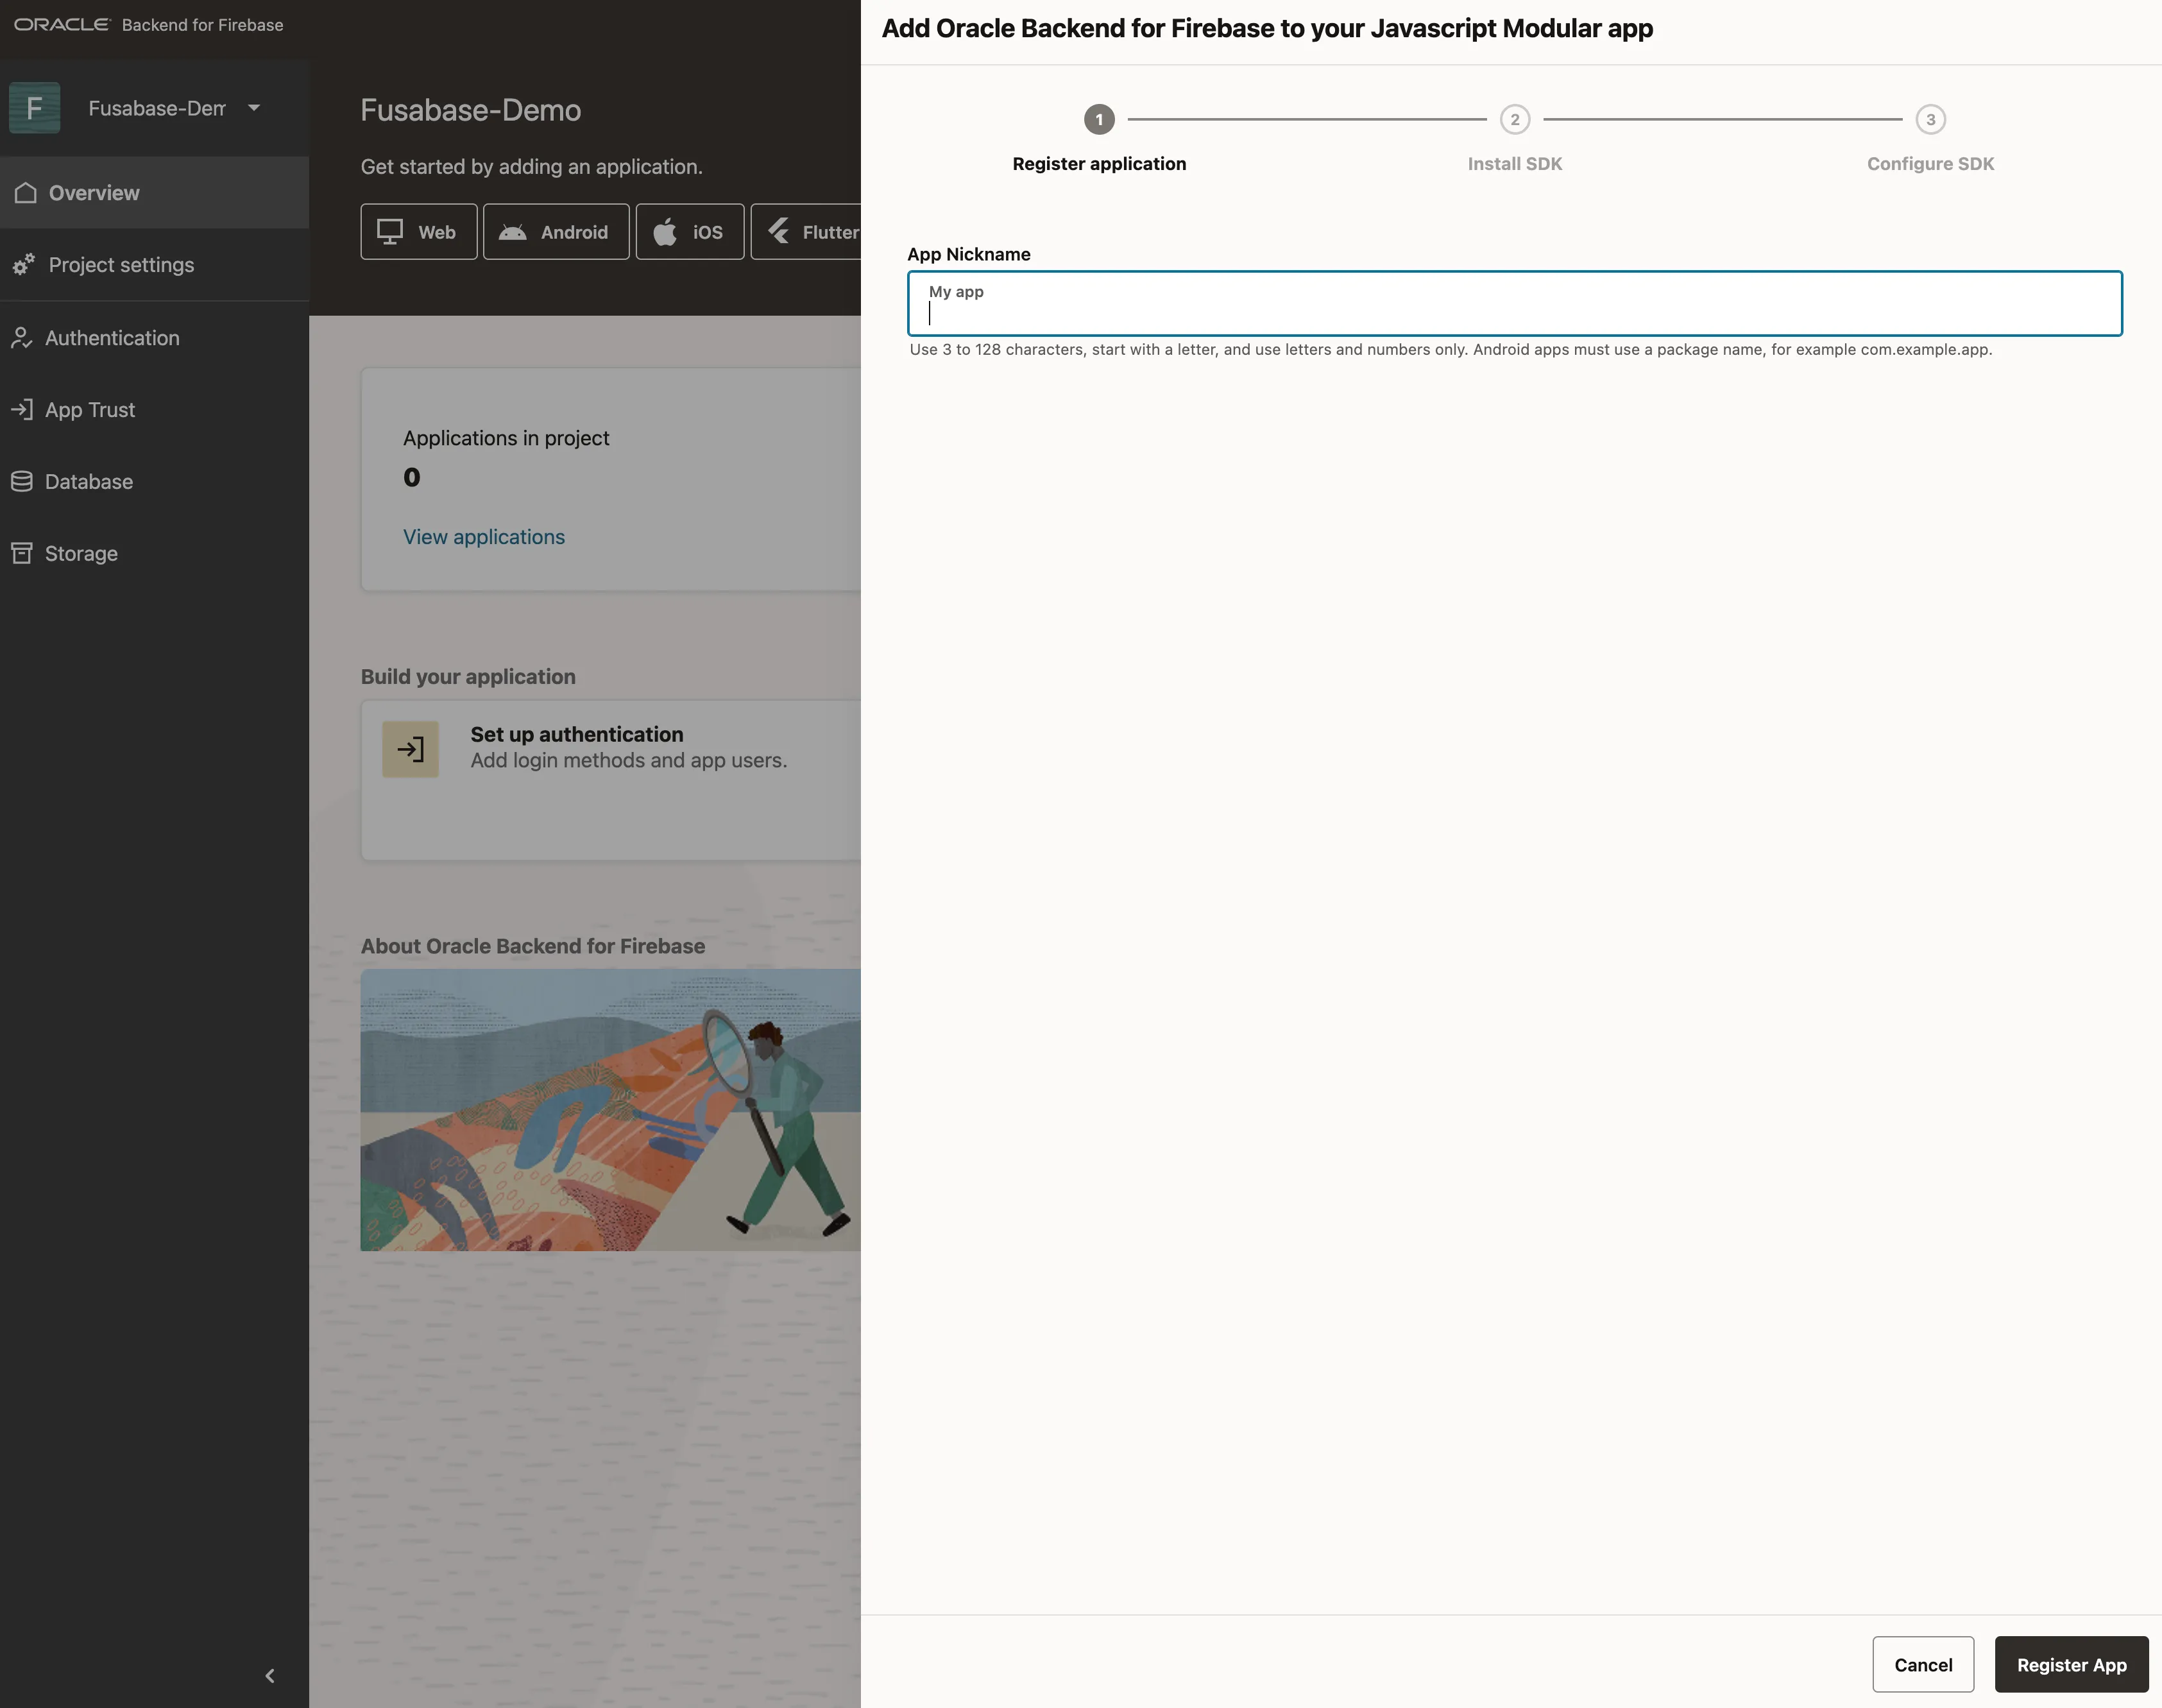
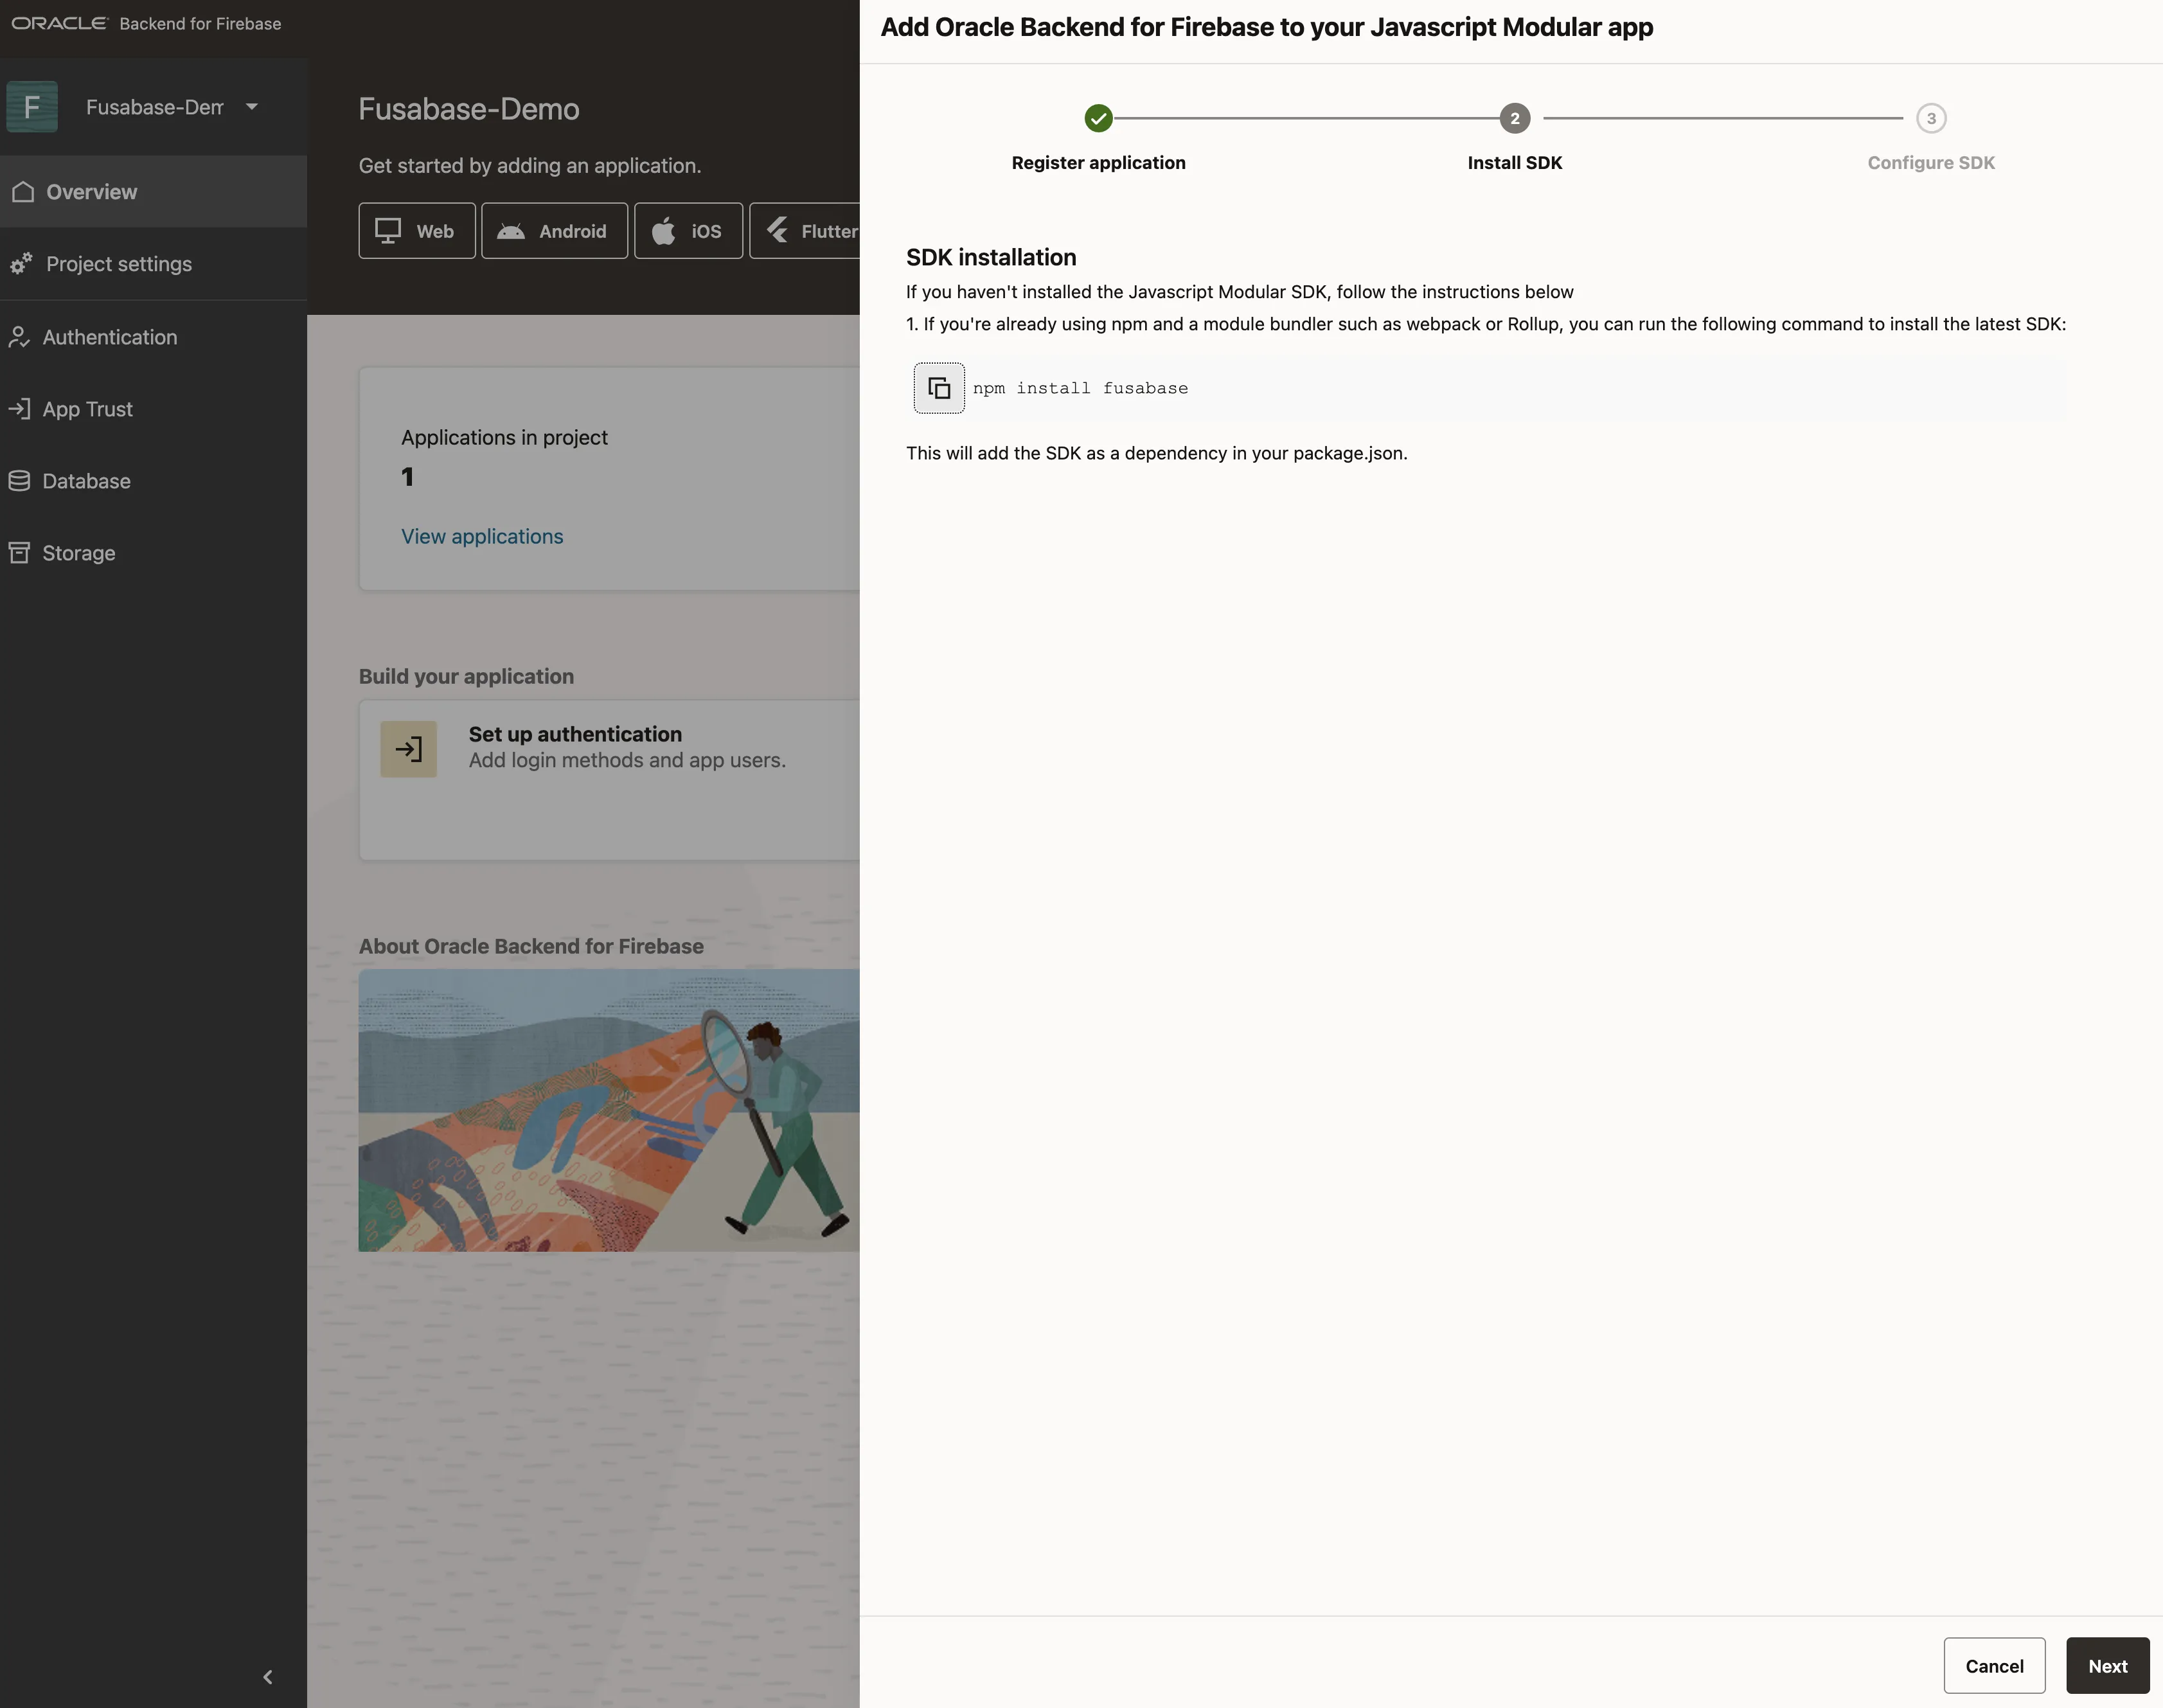
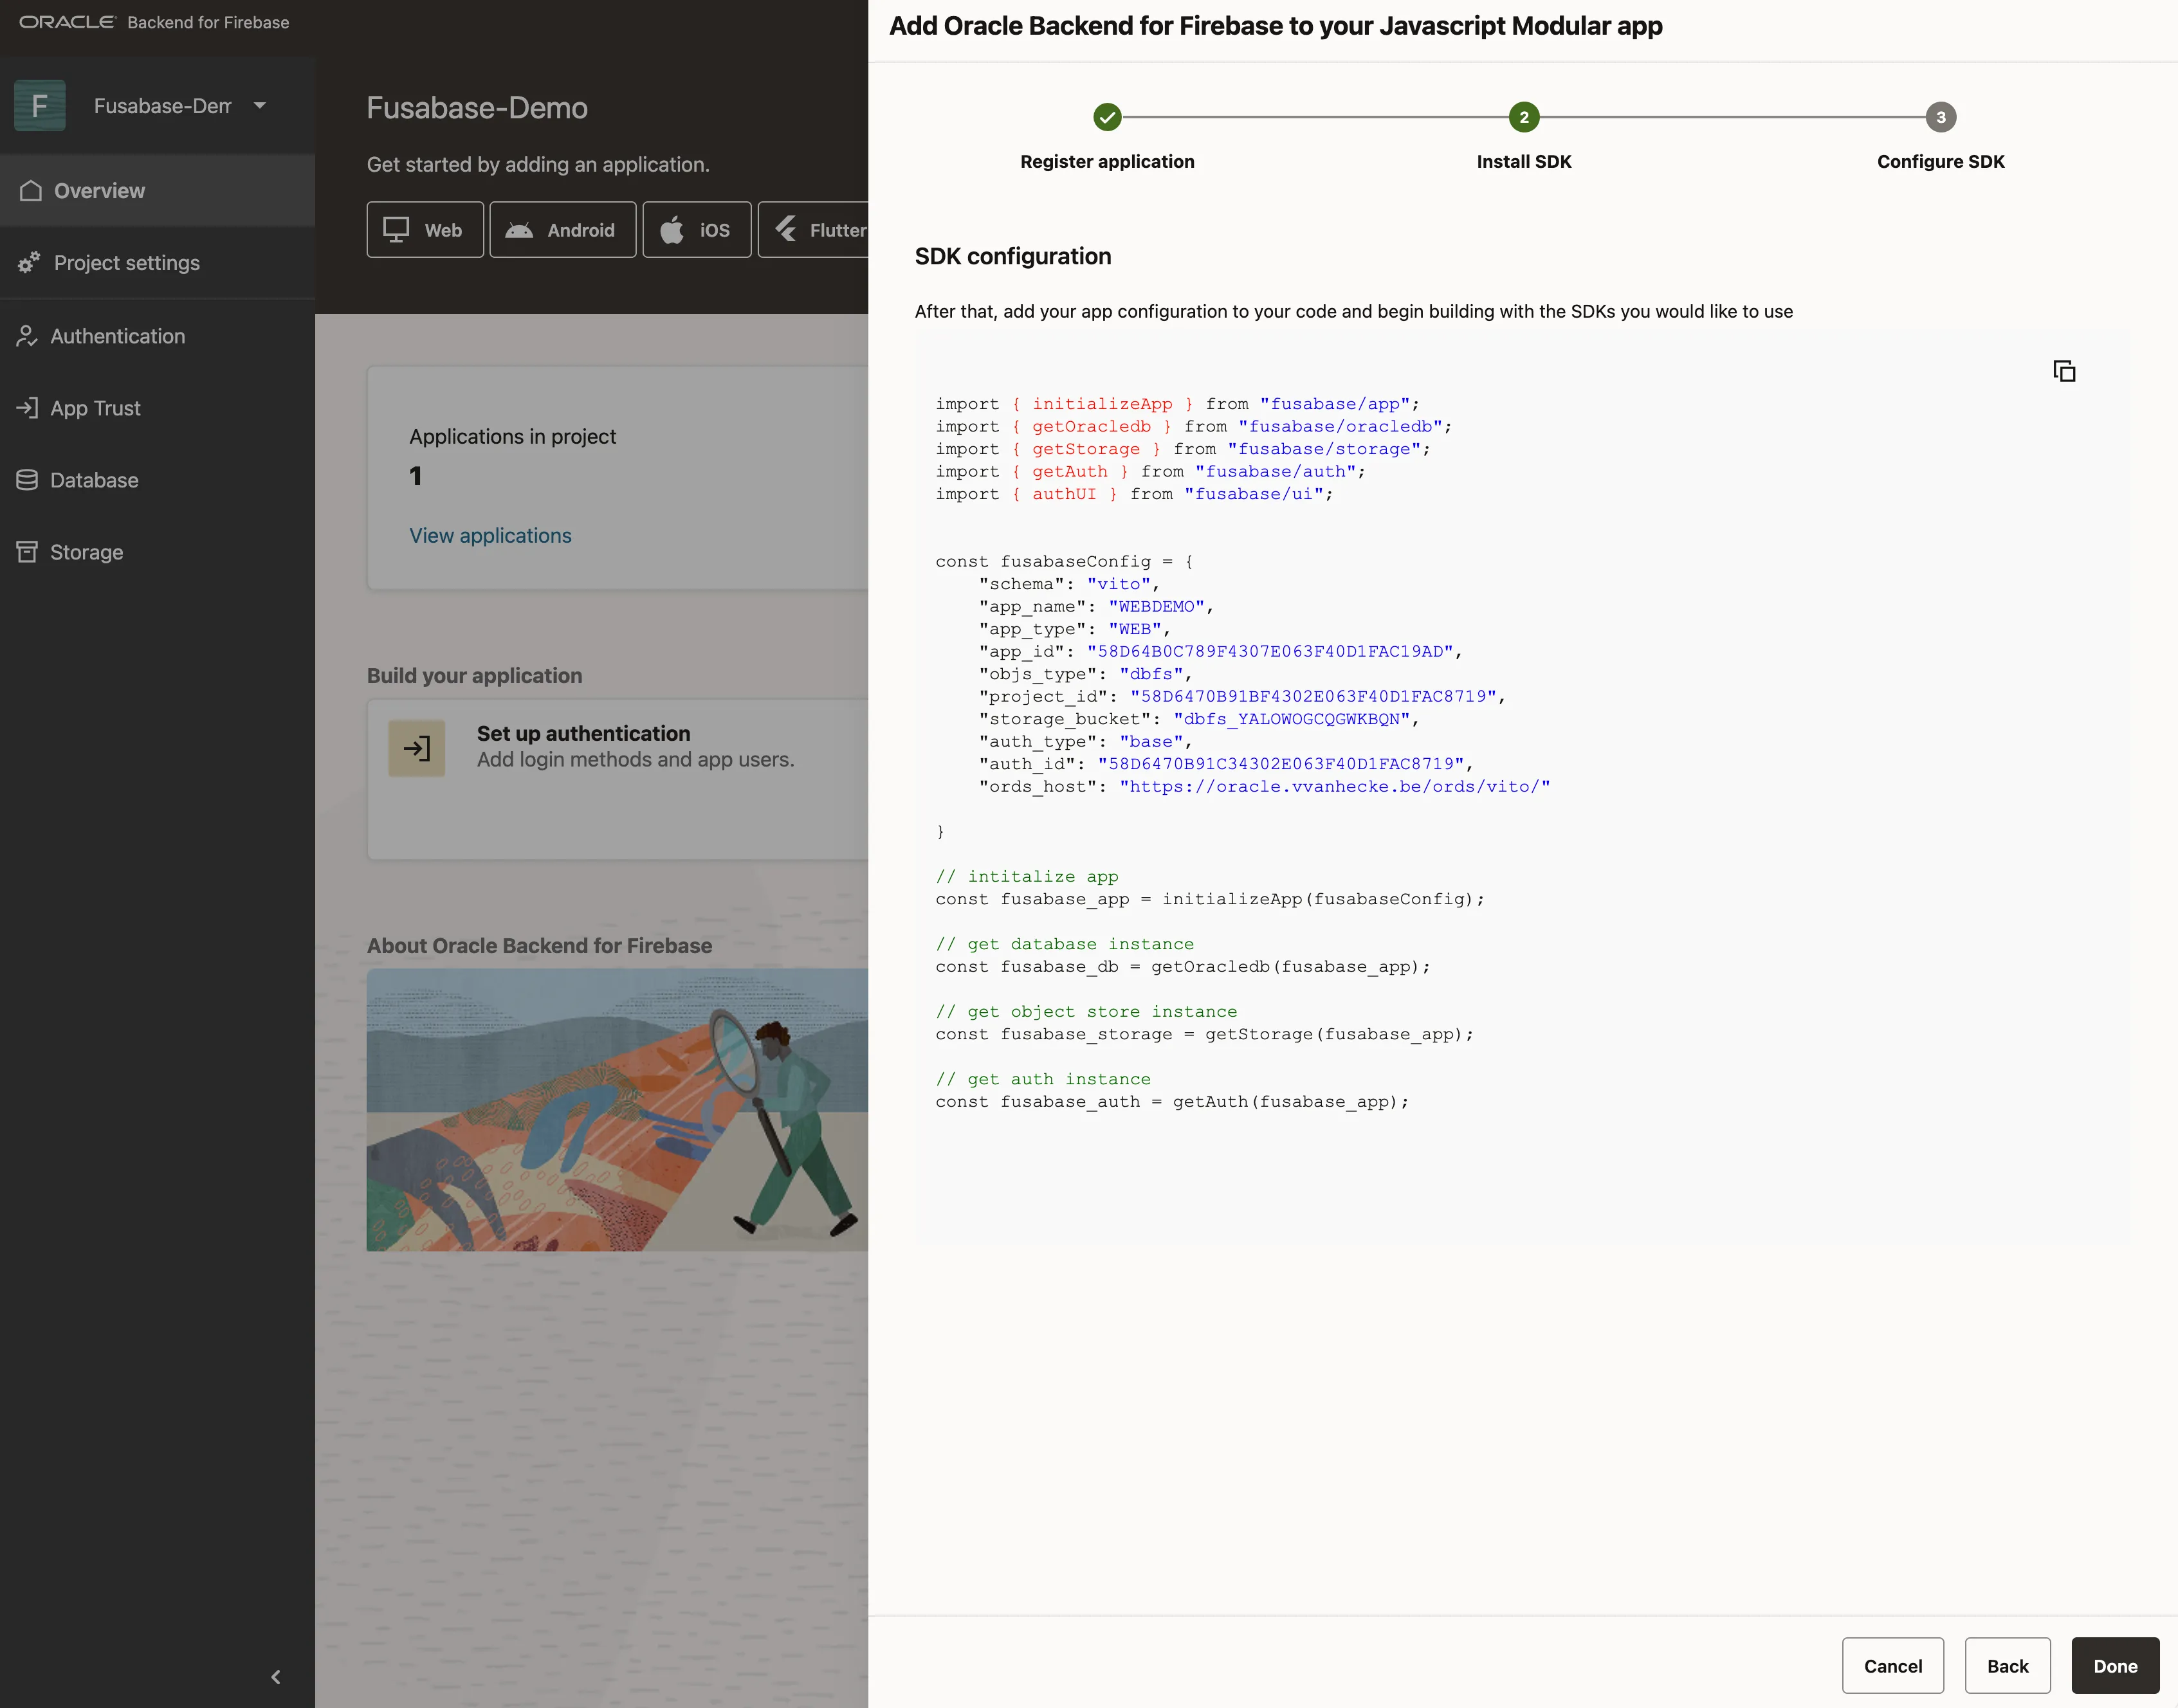
Next, choose an empty working directory on your local development machine and run these commands in its shell. They create a small Node.js project and install the Fusabase JavaScript SDK; they do not run on the database or inside ORDS.
npm init -y
npm install fusabase
touch index.js
Copy the configuration generated by the Fusabase Console into index.js, then initialize the SDK clients. The values below are from my project; use the values generated for yours.
import { initializeApp } from "fusabase/app";
import { getOracledb } from "fusabase/oracledb";
import { getStorage } from "fusabase/storage";
import { getAuth } from "fusabase/auth";
const fusabaseConfig = {
    "schema": "vito",
    "app_name": "WEBDEMO",
    "app_type": "WEB",
    "app_id": "58D64B0C789F4307E063F40D1FAC19AD",
    "objs_type": "dbfs",
    "project_id": "58D6470B91BF4302E063F40D1FAC8719",
    "storage_bucket": "dbfs_YALOWOGCQGWKBQN",
    "auth_type": "base",
    "auth_id": "58D6470B91C34302E063F40D1FAC8719",
    "ords_host": "https://oracle.vvanhecke.be/ords/vito/"
};

// initialize app
const fusabase_app = initializeApp(fusabaseConfig);

// get database instance
const fusabase_db = getOracledb(fusabase_app);

// get object store instance
const fusabase_storage = getStorage(fusabase_app);

// get auth instance
const fusabase_auth = getAuth(fusabase_app);

console.log(fusabase_db.toJSON());
Run the file from that same local development shell:
node index.jsThe output should identify an Oracle Database client:
{ appName: '[DEFAULT]', type: 'oracledb' }This confirms that the SDK loaded the generated configuration and created the database client. In the next part, we will use that client to exercise the individual services.